Revealing The Nebulae With Pixinsight
In my previous article, In search of the Stars, I described the imaging system hardware and software I use for astroimaging. The system includes an Optolong L-eNhance Dual Bandpass Light Pollution Reduction Imaging Filter that enables me to capture many nebulae with amazing detail. I will use this article to explain how the images were revealed with PixInsight. The Resources section at the end of the article contains a list of relevant references.
To best view a final processed image on a PC, click on the image and dive into the nebulae. On a touch screen (mobile phone or tablet), I find the finger gestures to move and enlarge the images work best. On my older tablet, I also had to brighten the display a bit.
Revealing the North America Nebula (NGC7000)
NGC7000 was the first nebula I imaged. I have learned a lot after processing the nebula—after many attempts.
The image consists of 37 5-minute light frames plus calibration images (bias, darks, and flats). Below is one uncalibrated stretched FITS image as it came from the camera:
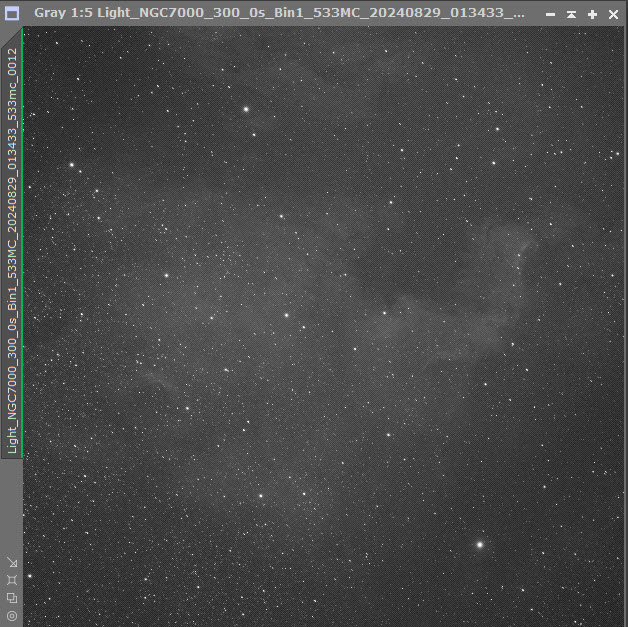
No matter how the images will be processed, they should first be inspected to eliminate bad images. PixInsight has a great process for this called Blink. After selecting the files to inspect, Blink opens a display window containing the first image. Other images can be sequentially cycled through the display window or selected from the files list. The image in the preview window can be enlarged to show detail. The good news is that many smaller problems will simply disappear during the stacking operation.

PixInsight offers several ways to process images. I decided to automate the processing using WeightedBatchPreprocessing (WBPP). There is another automated method called FastBatchPreprocessing (FBPP) that is intended for the calibration of large numbers of images. If you want to manually calibrate your images, I highly recommend reading Rogelio Bernal Andreo’s Mastering PixInsight, CHAPTER IV, and/or Bernd Landmann’s Preprocessing of Raw Image Data with PixInsight. It goes without saying that watching Peter Zelinka’s videos will make the processing more understandable.
Original Processing
When WBPP begins, the WBPP Execution Monitor displays the status of each "Operation" as it is executed.
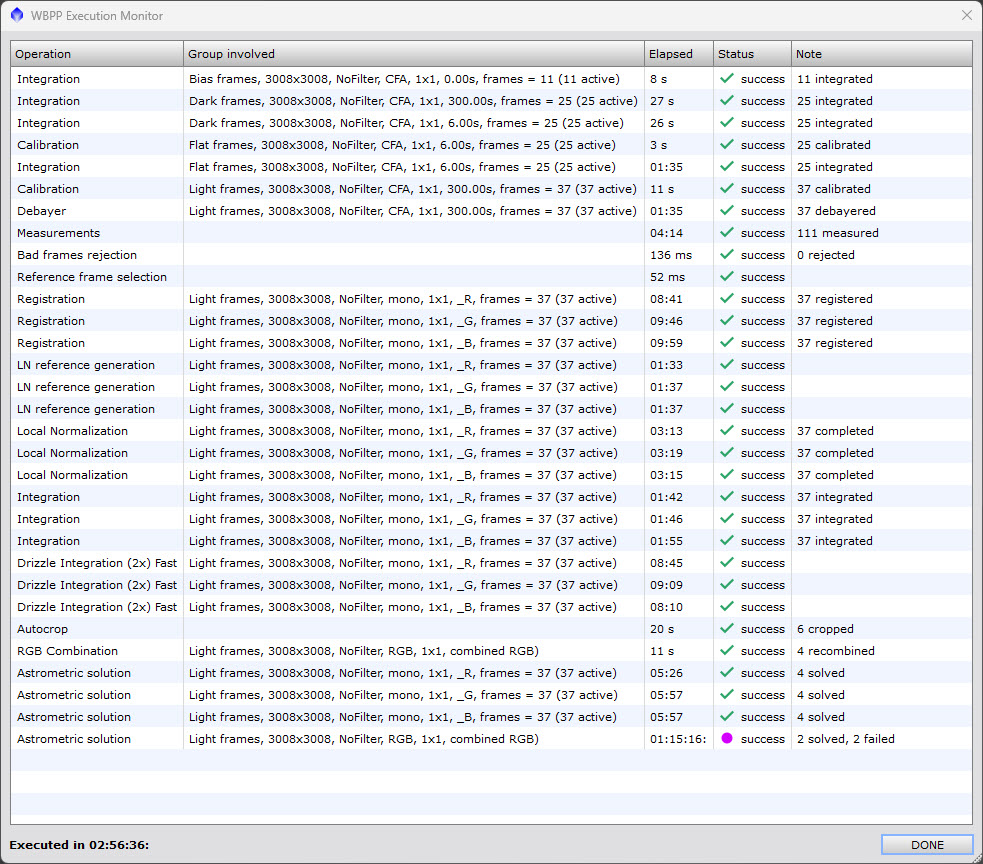
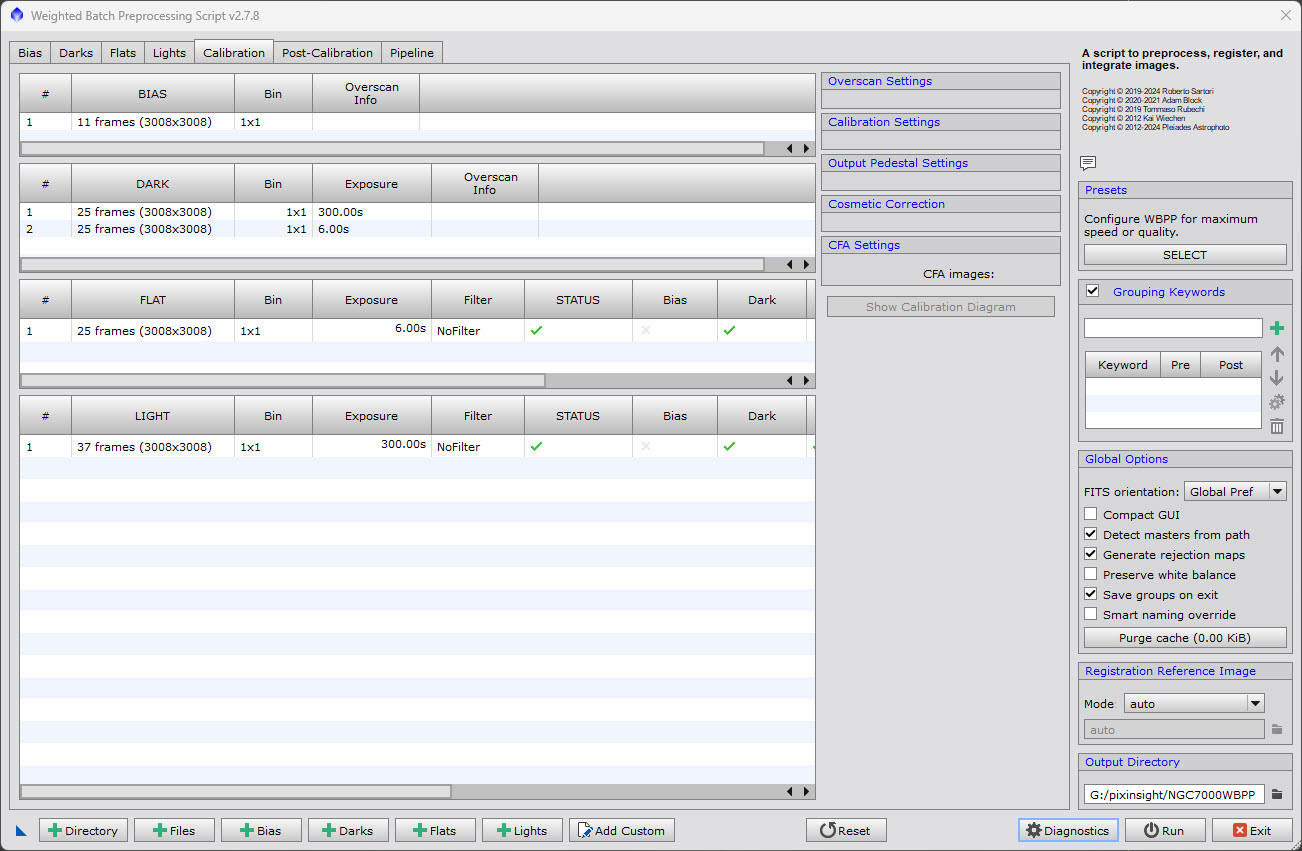
I loaded all of my images into a single directory and entered the directory as the WBPP output directory (lower right of the form). As it runs, WBPP automatically creates necessary folders and saves files, as needed, into the output directory. I hit the directory button located in the lower left corner of the WBPP form and WBPP loaded all of my calibration and light frames.
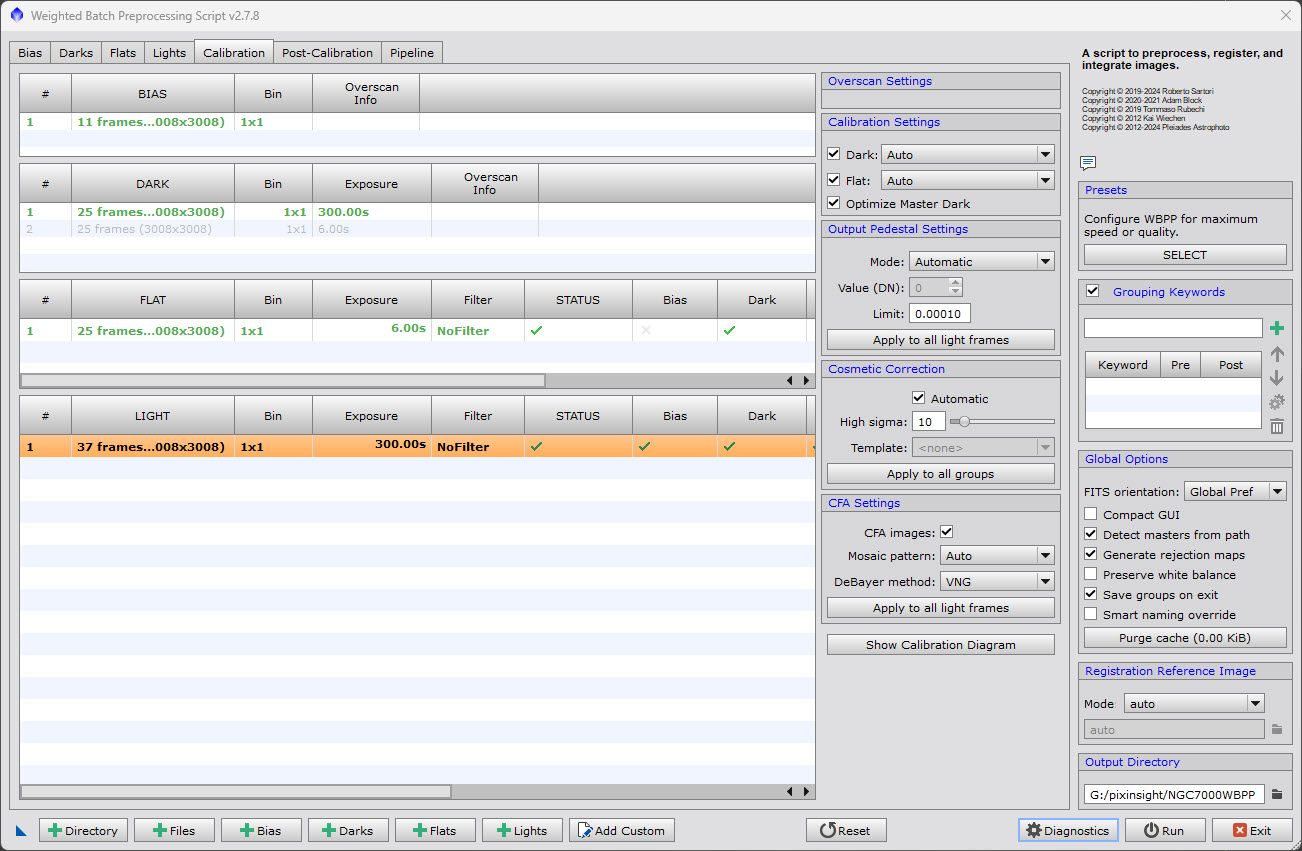
Clicking on the light-frame line reveals several calibration settings. I selected the "Optimize Master Dark" setting but otherwise used the defaults.
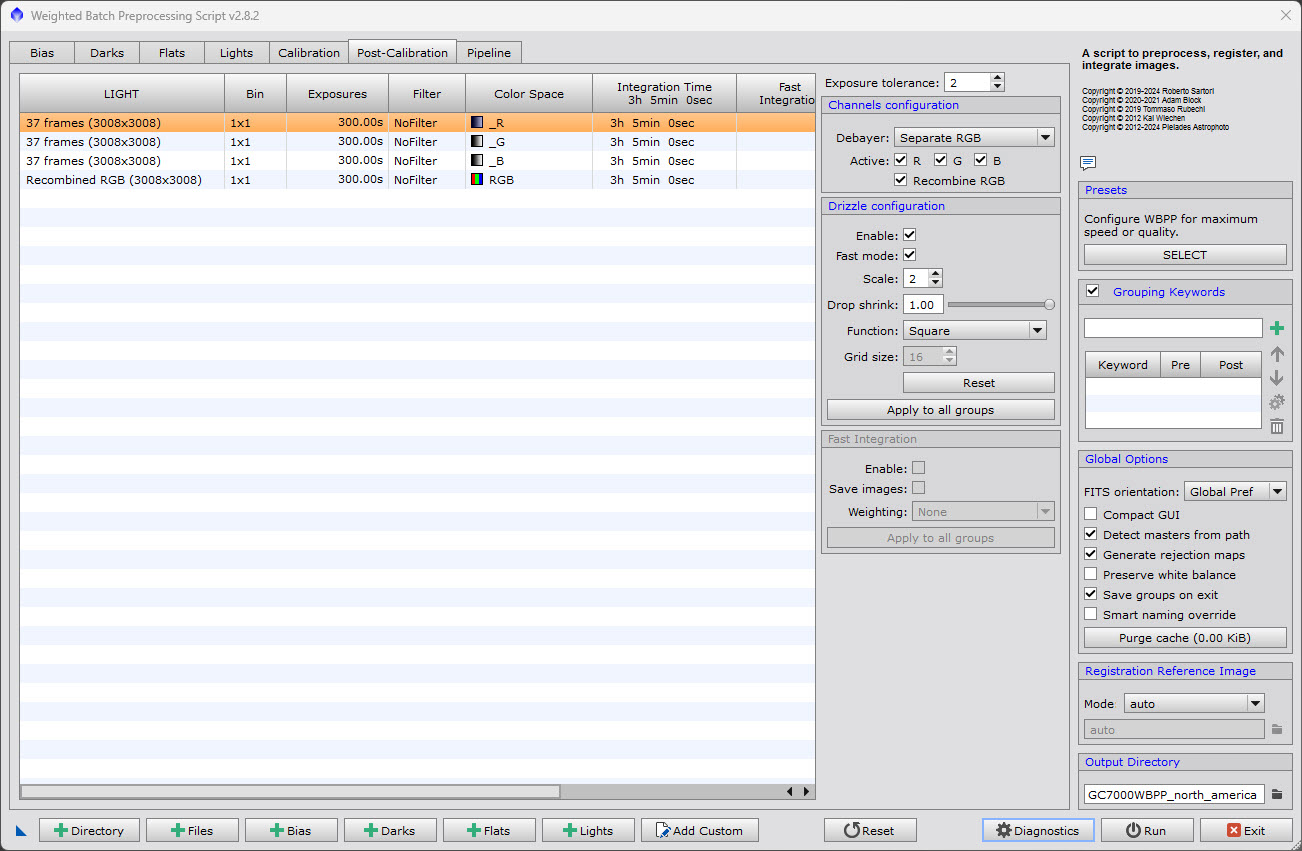
Because I am trying for the best image calibration, I selected the "Post-Calibration" tab and elected to perform "Separate RGB" and "Drizzle" processing.
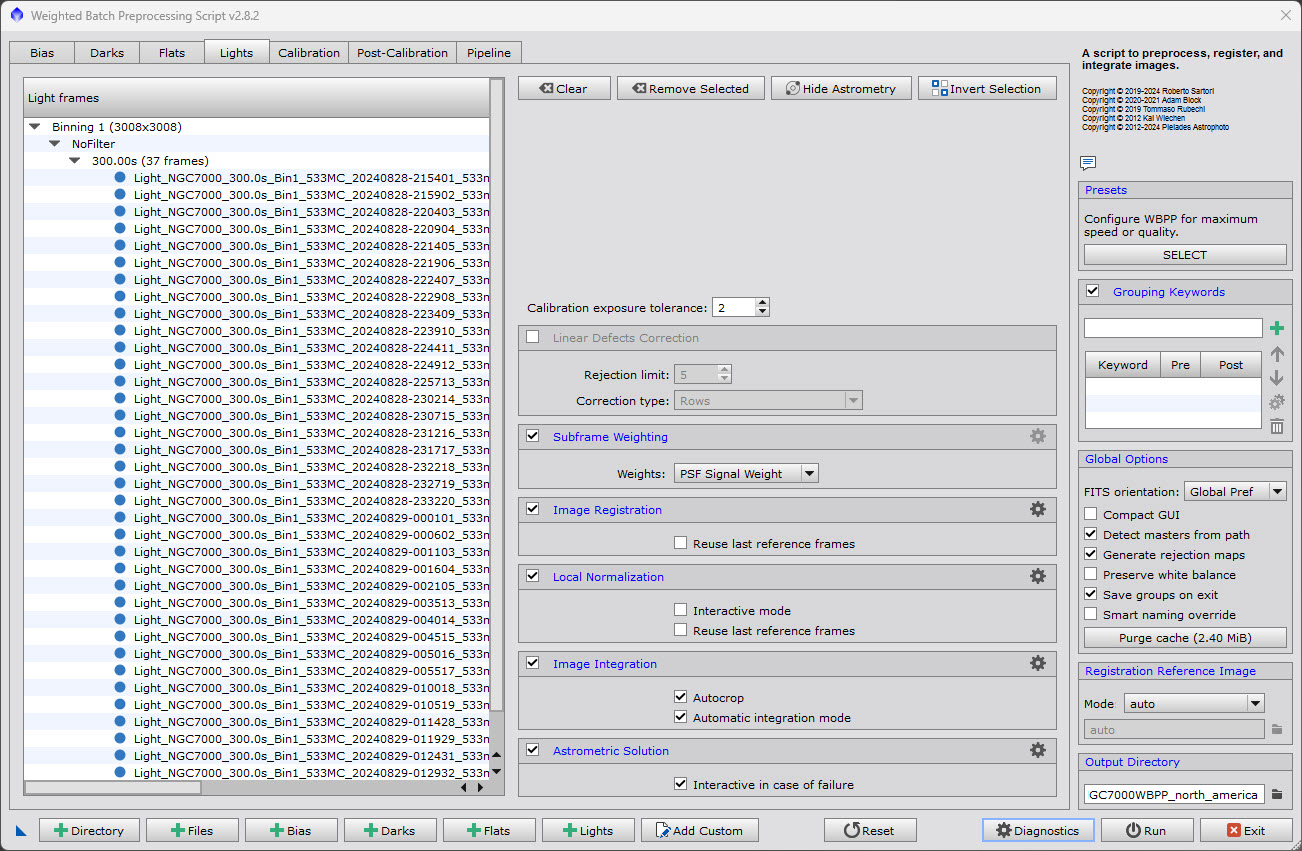
If you click on the "Lights" tab you can see other options. One of the options is to enable "Astrometric Solution" at the end of WBPP. I used the default setting
Hitting the "Diagnostics" button runs some diagnostics and also provides an option to "Generate Screenshots."
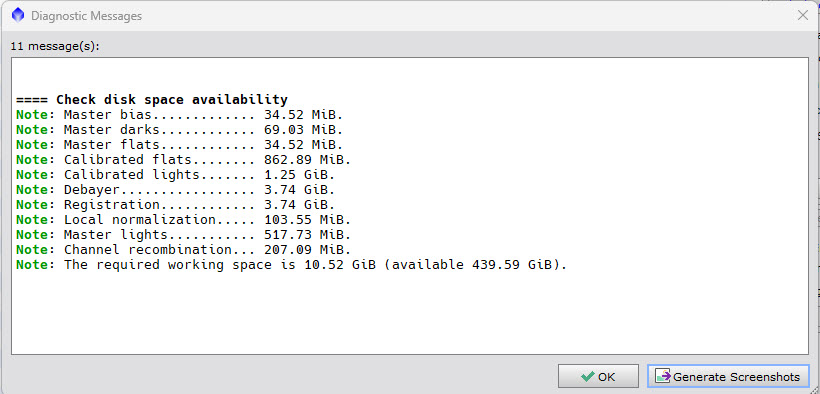
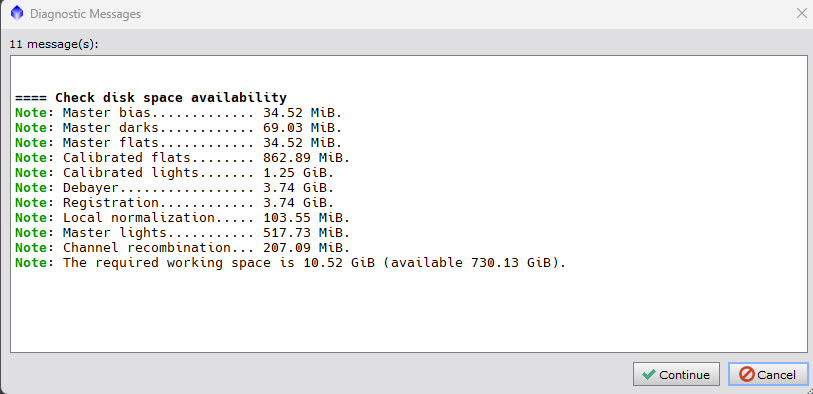
The diagnostics are "in the green." It’s time to hit the "Run" button. This will cause the diagnostics to be run and, if "in the green", will allow the process to be continued:
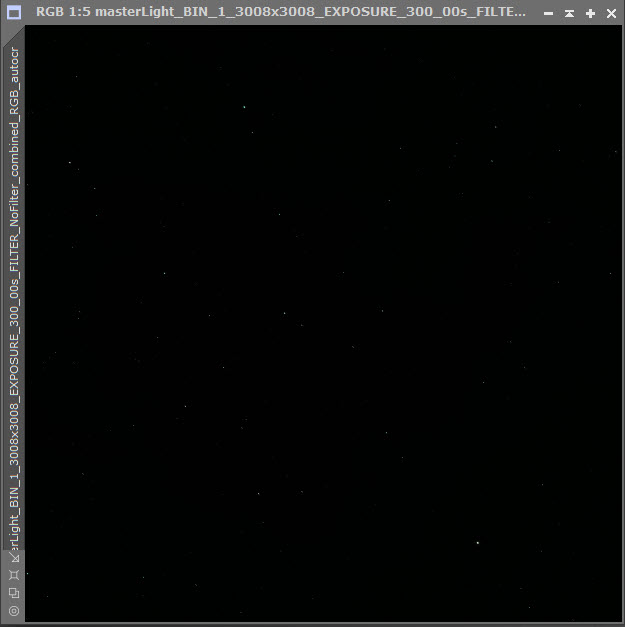
After WBPP is finished, the resultant image is going to be a shock:
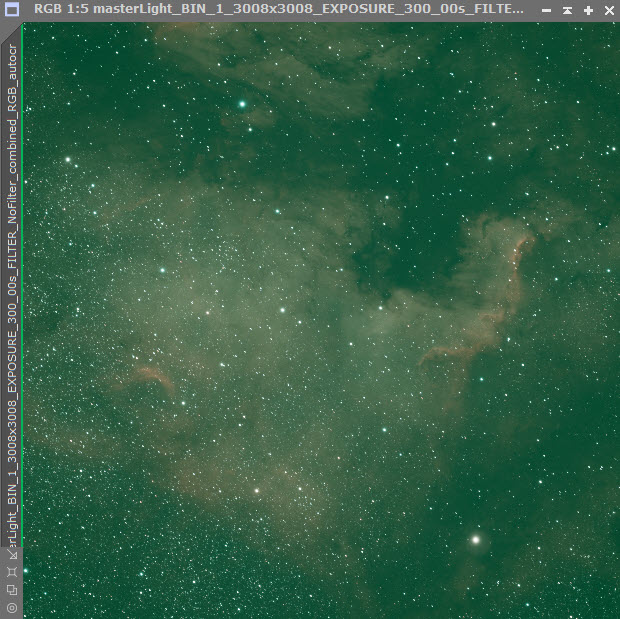
After "stretching" the image (Ctrl+A), it shows a bit more promise:
My work flow consisted of the following steps to complete the processing:
- Blink,
- WeightedBatchPreprocessing (WBPP),
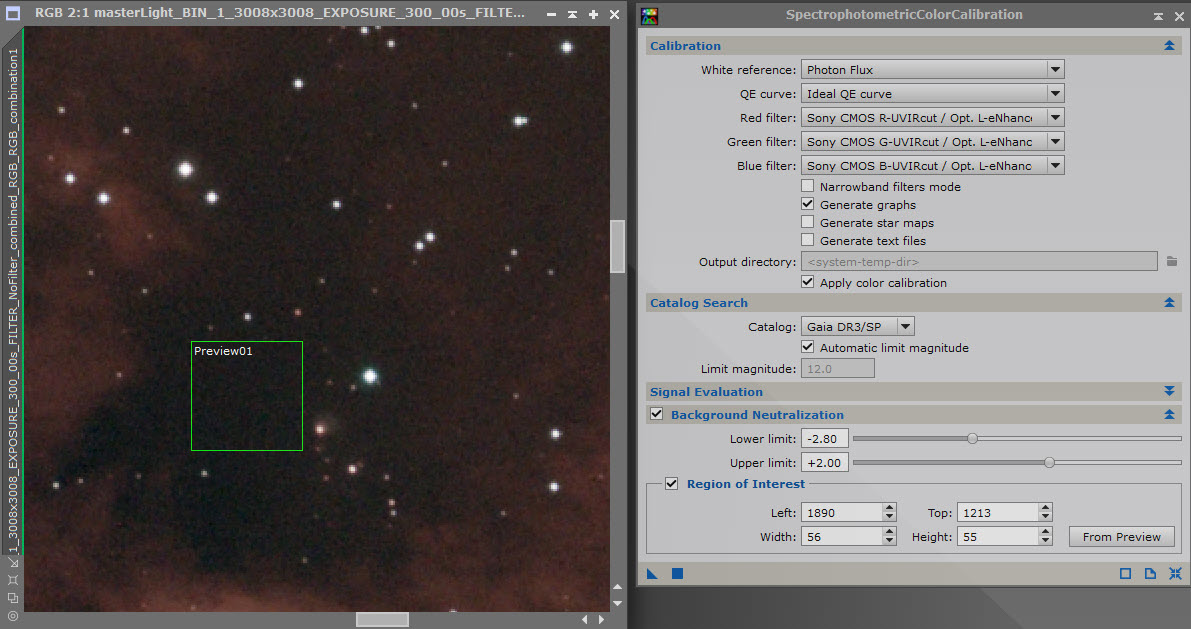
- SpectrophotometricColorCalibration (SPCC),
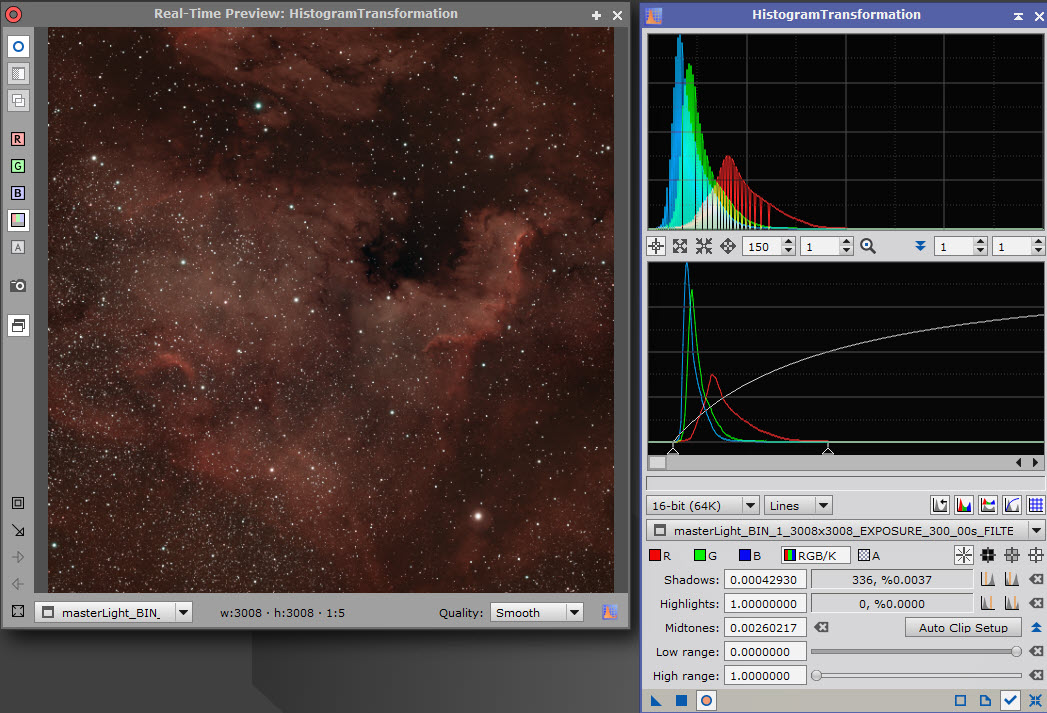
- HistogramTransformation, and
- NoiseXterminator.
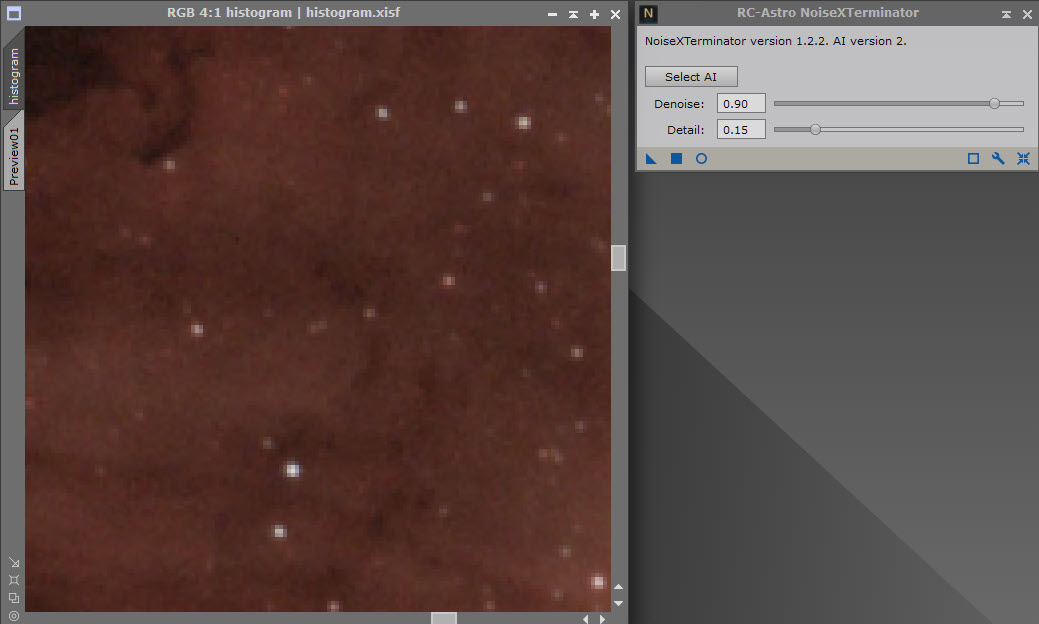
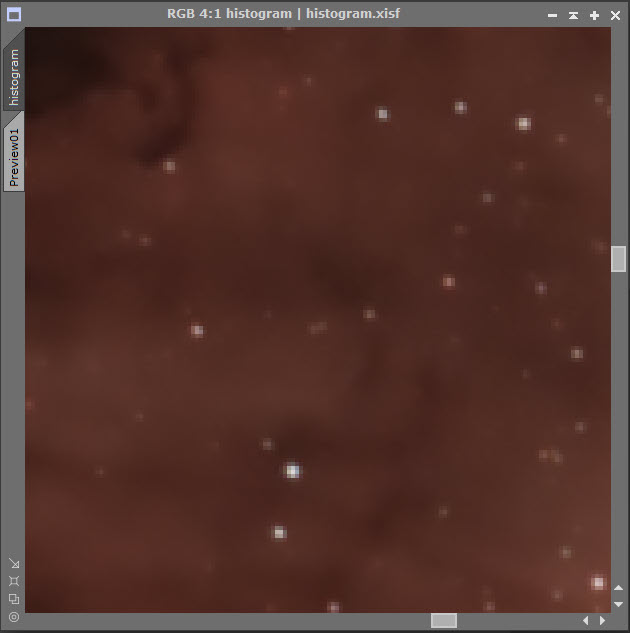
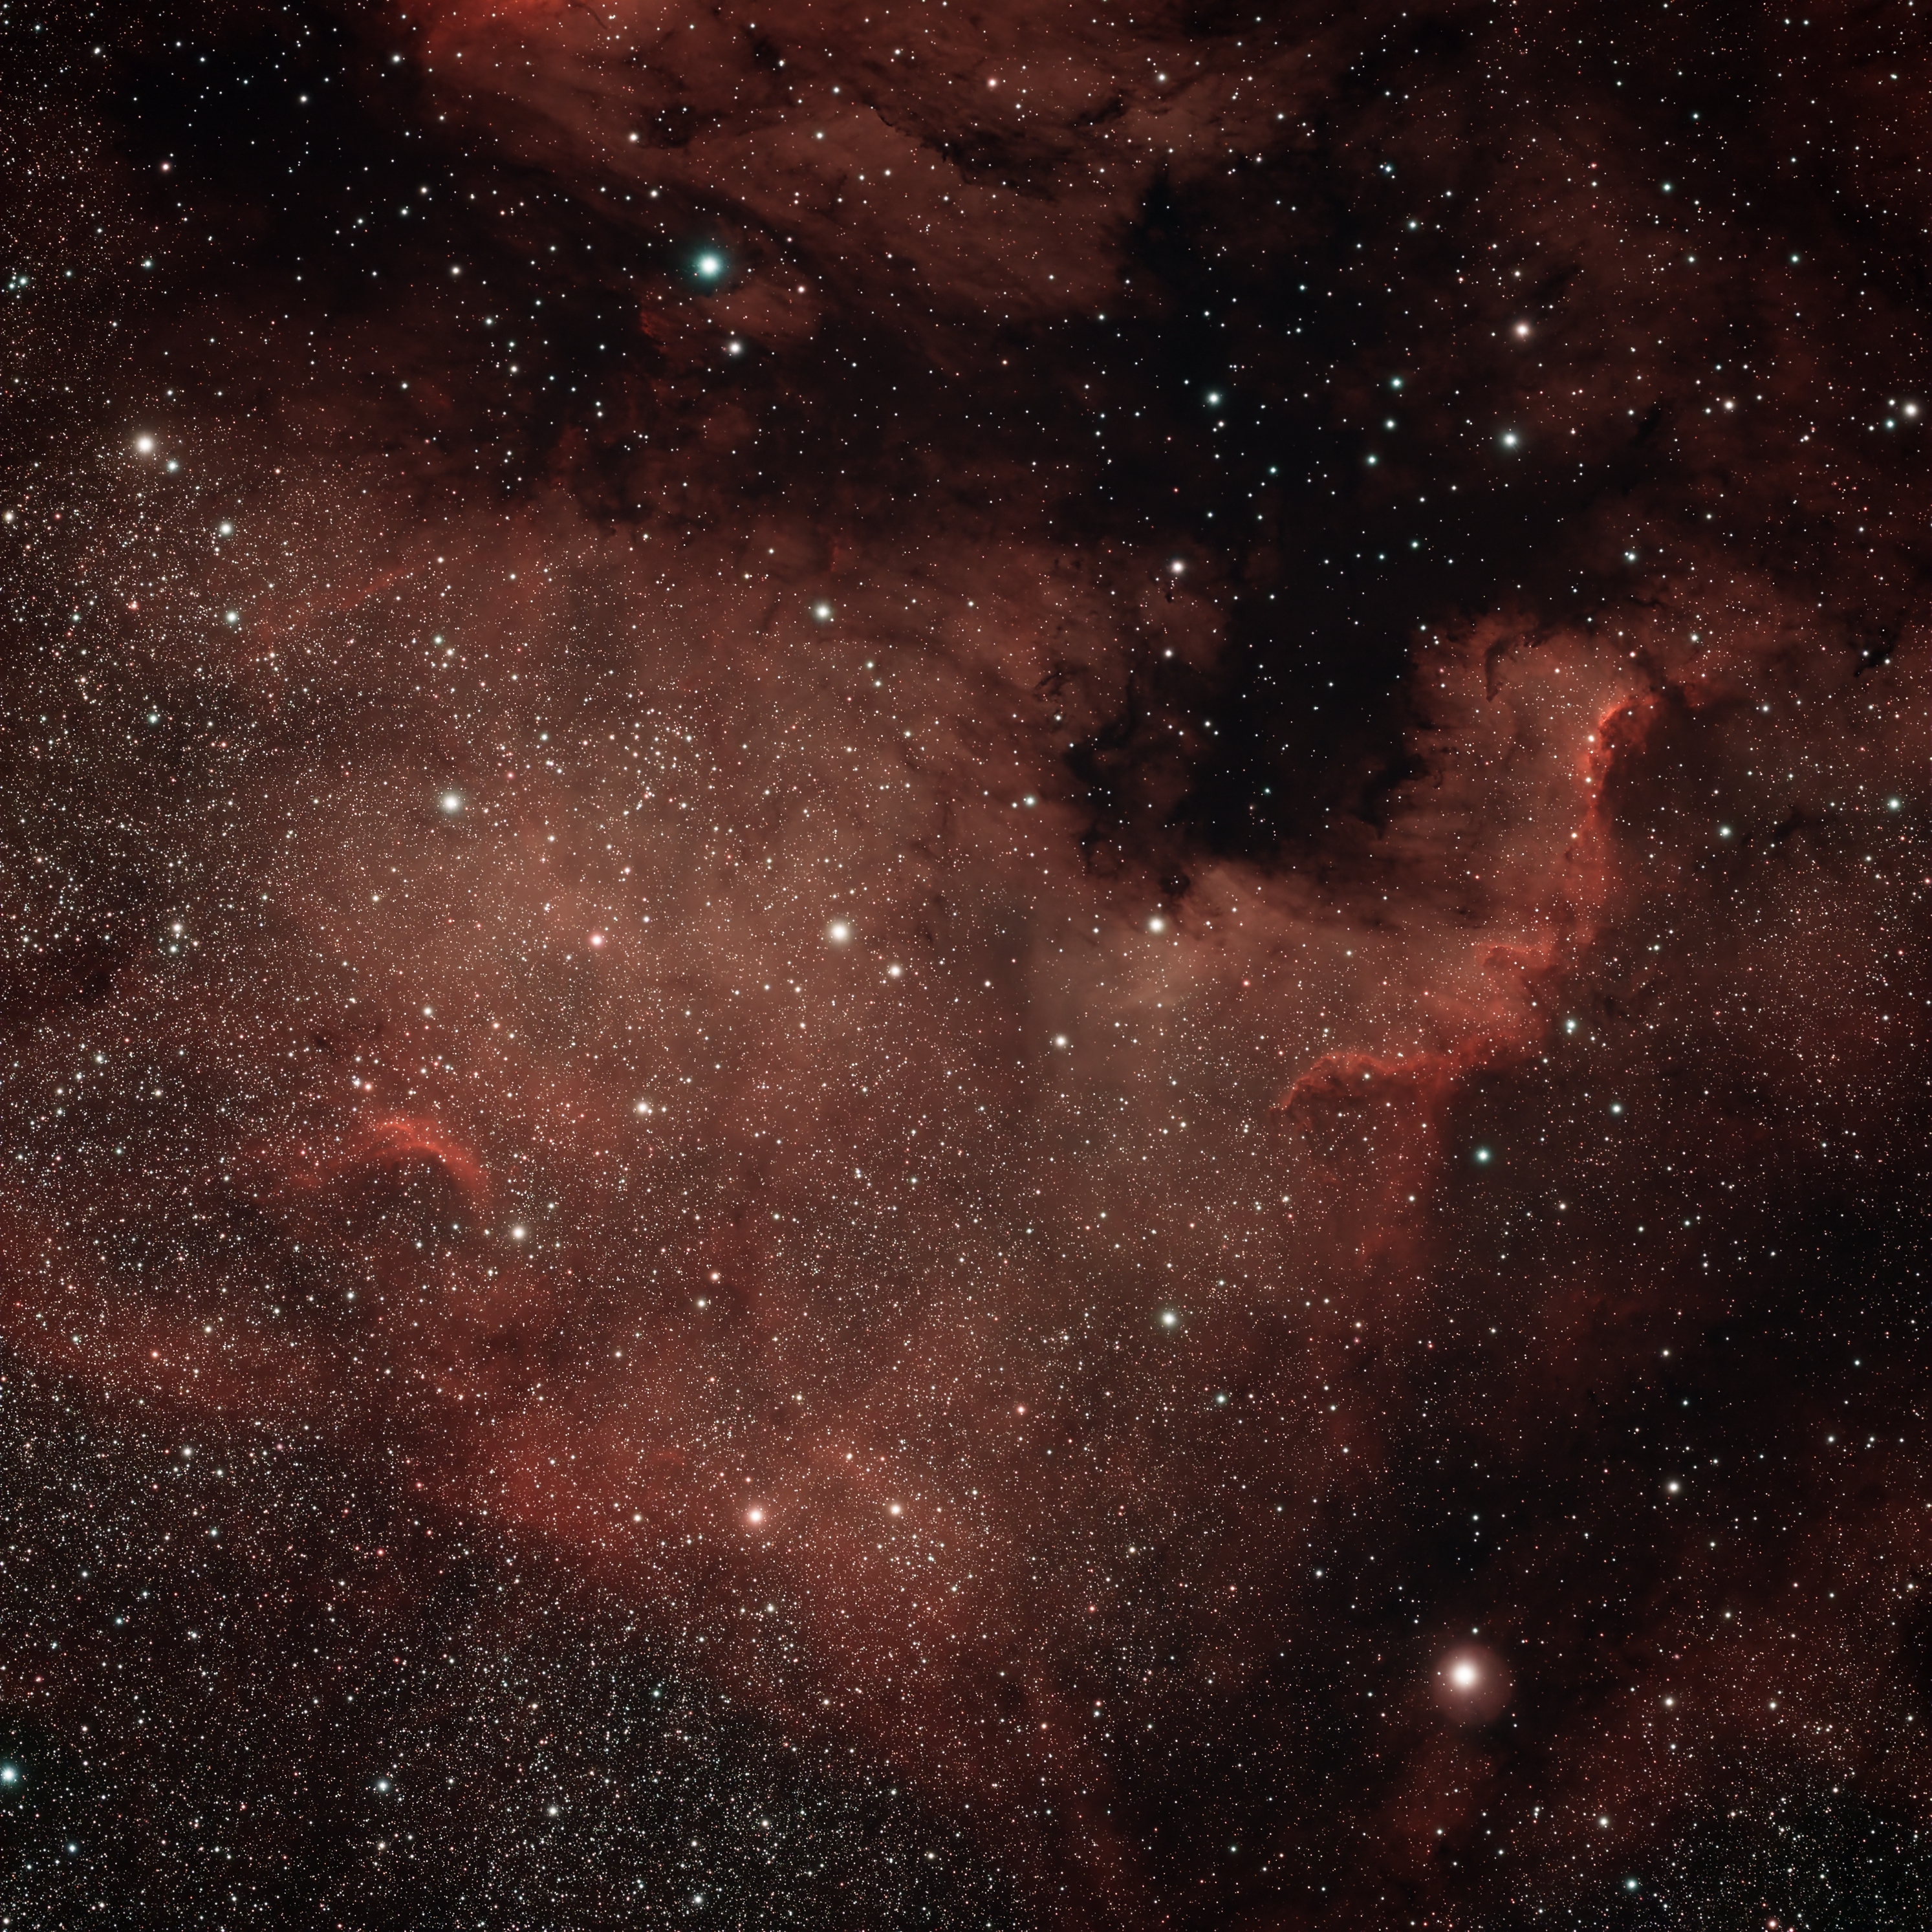
After the processing was completed, the nebula was revealed in detailed glory.
Click or touch the image for a larger view.
Alternate Processing
After receiving several comments on my original processed image, I did a second processing. As in the first processing, I started with WBPP.
After using Blink and WBPP, my next process was SpectrophotometricColorCalibration (SPCC). But first, in order to select a preview area for SPCC, I used a neat script from Seti Astro, "FindBackground".
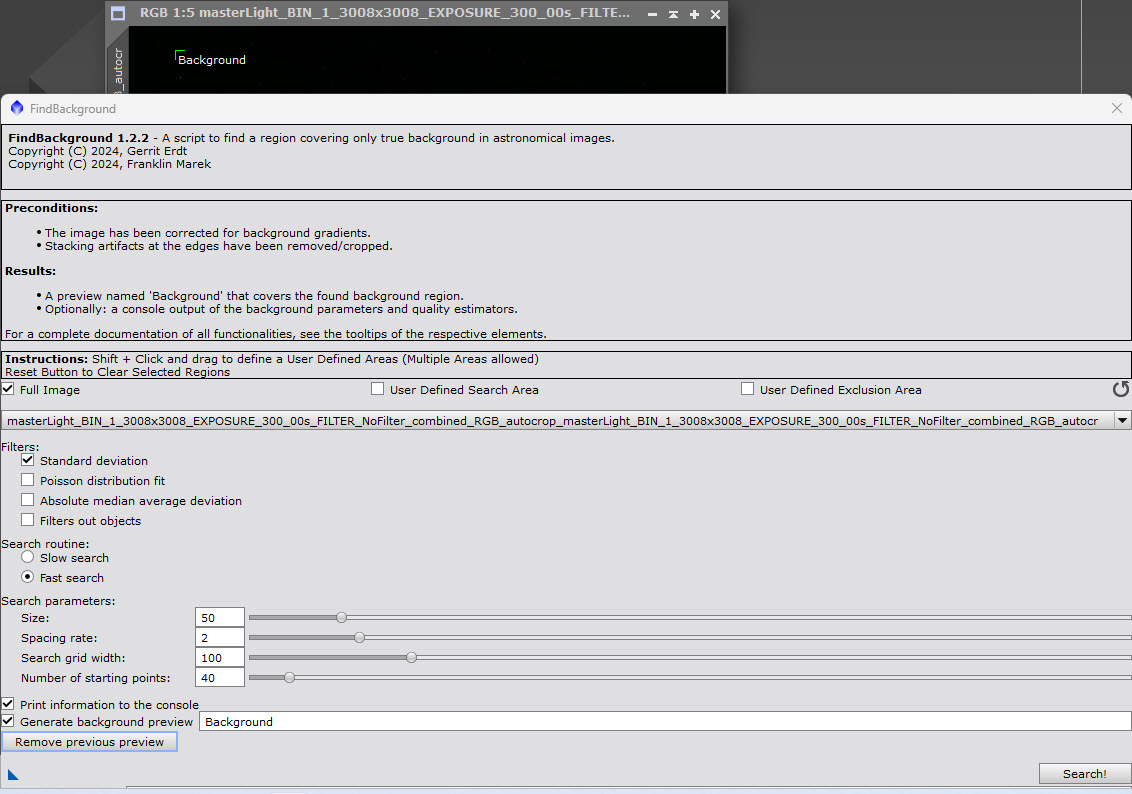
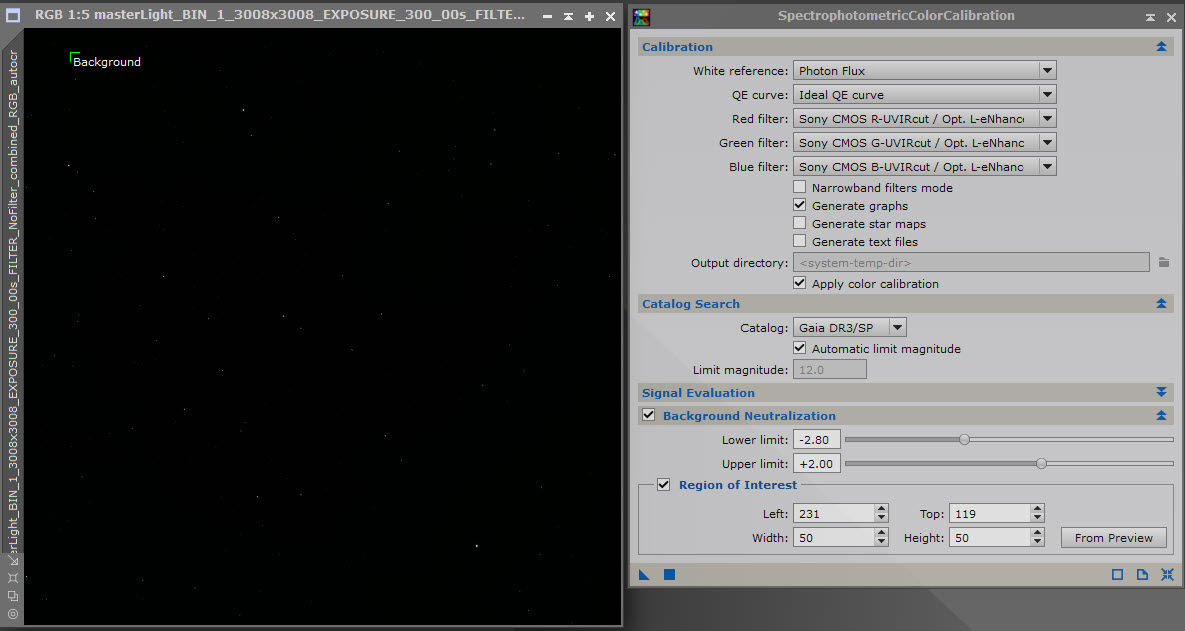
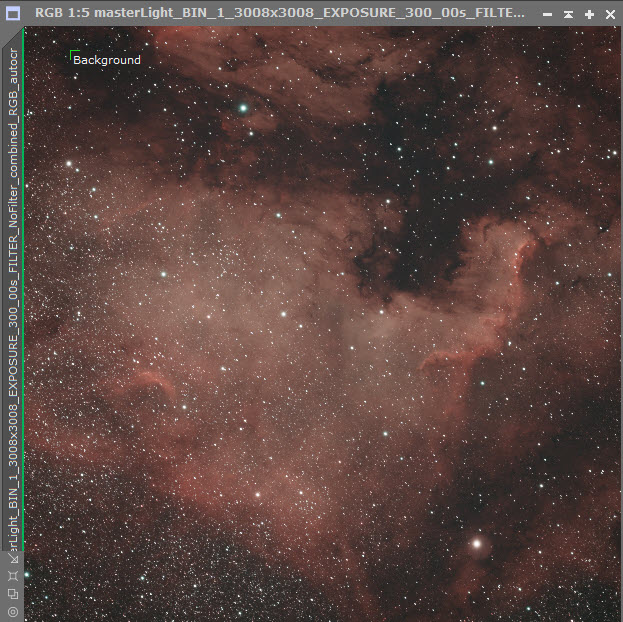
Before stretching the image permanently, I used StarXTerminator to separate the stars from the nebula. I used Ctrl+A to stretch the images for display)
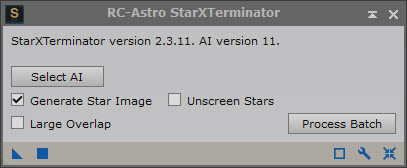

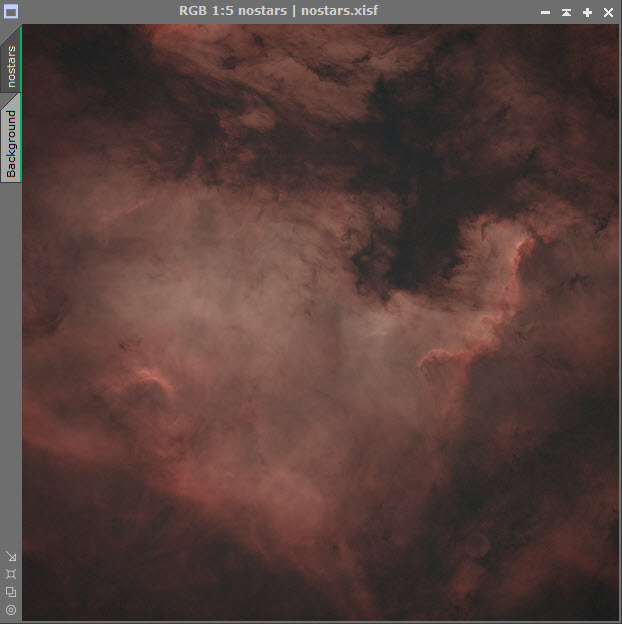
I used two Seti Astro scripts to permanently stretch the star/nostar images: Star Stretch and Statistical Stretch. Before running Statistical Stretch on the no-star image, I ran ScreenTransferFunction and turned on "Link RGB Channels" (upper left link icon). The default for Statistical Stretch is to use "Linked Stretch".
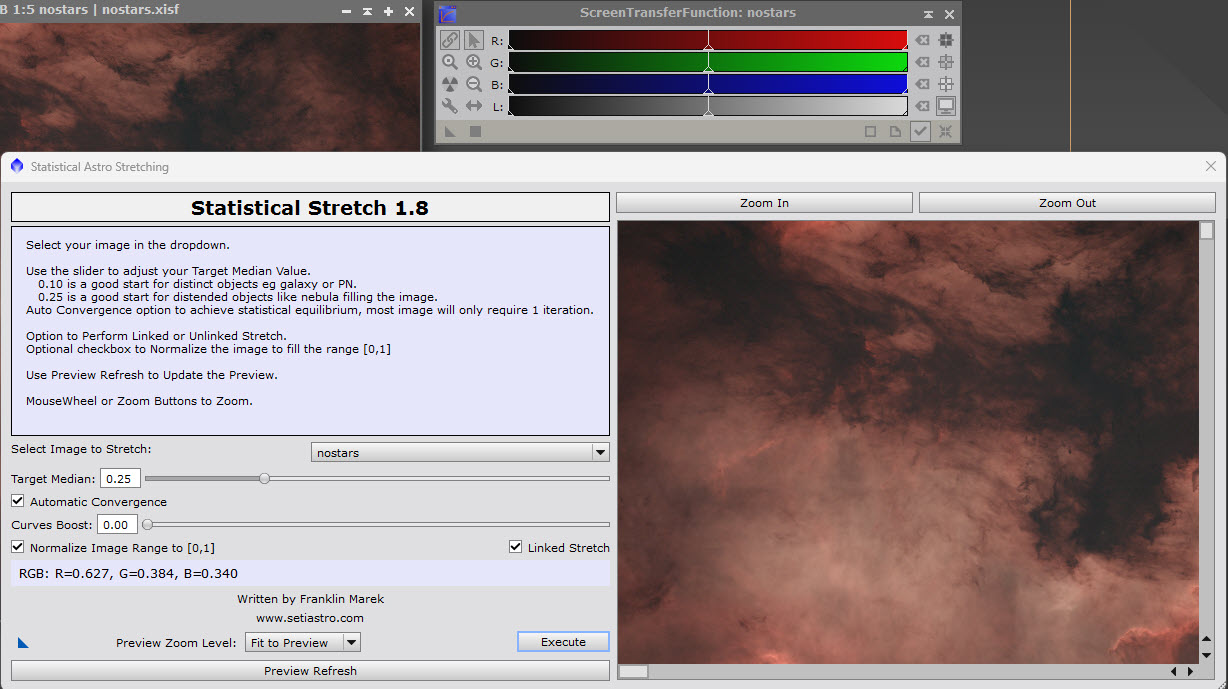
Click or touch the image for a larger view.
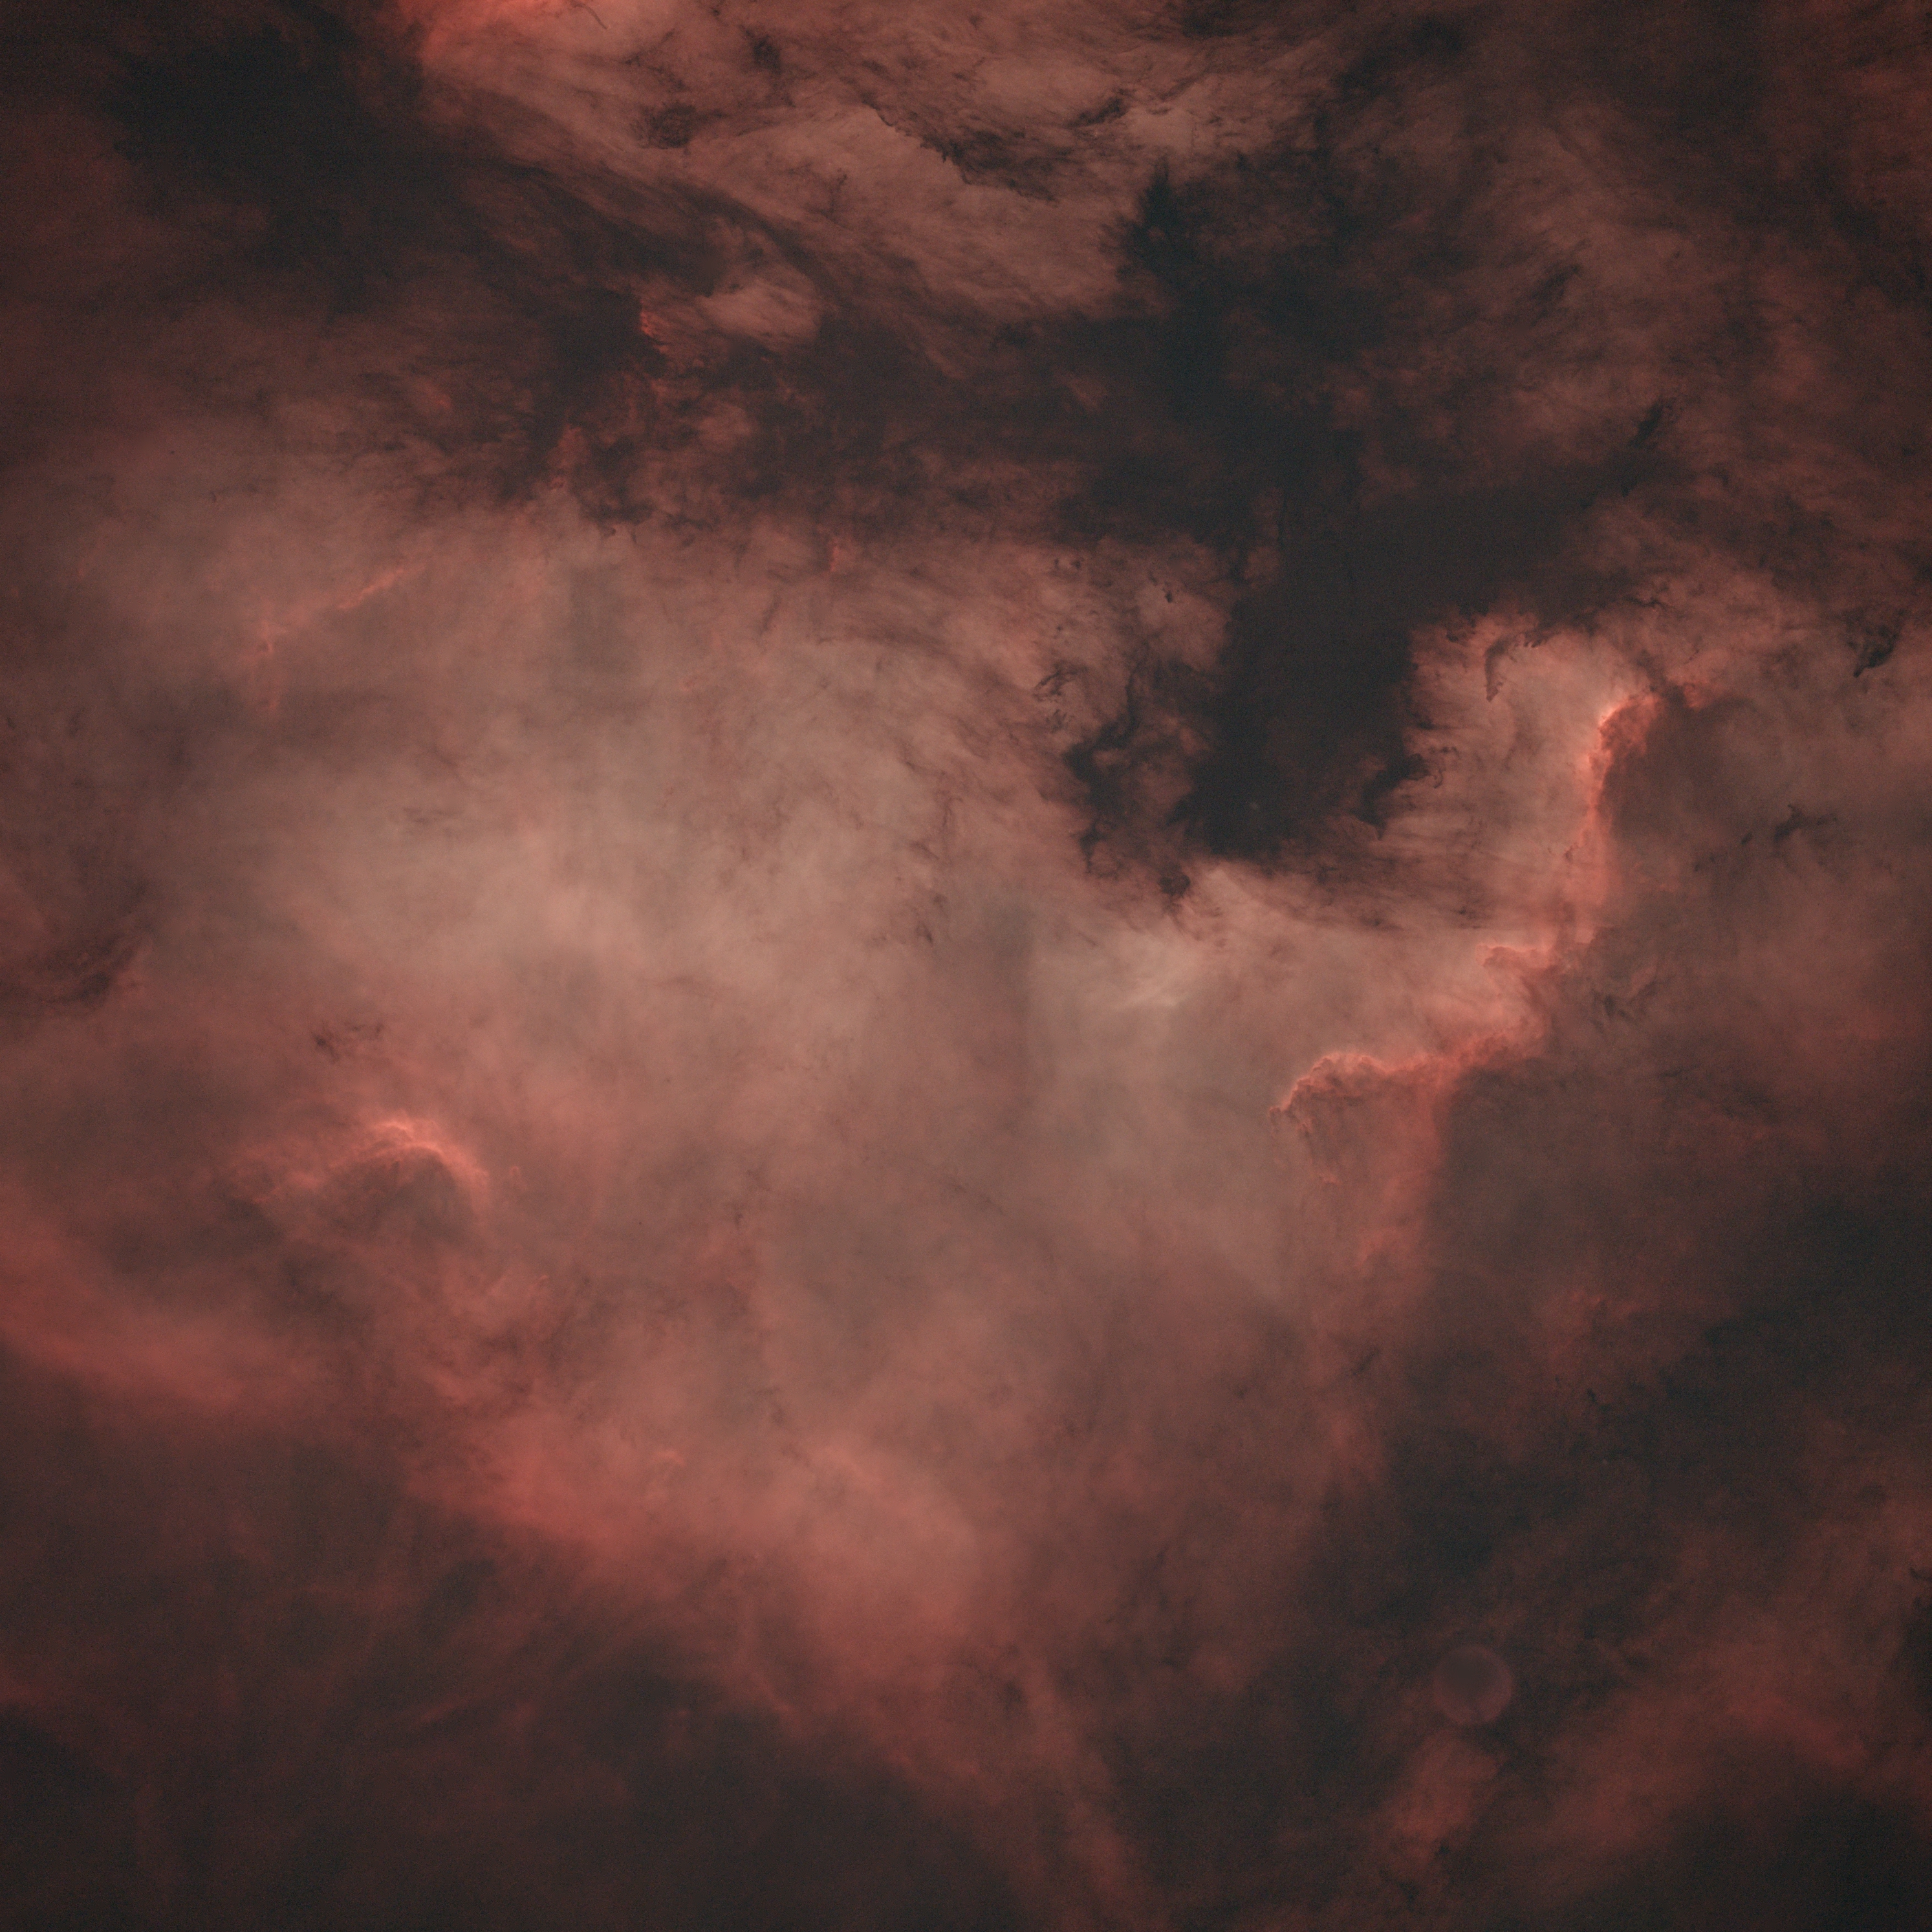
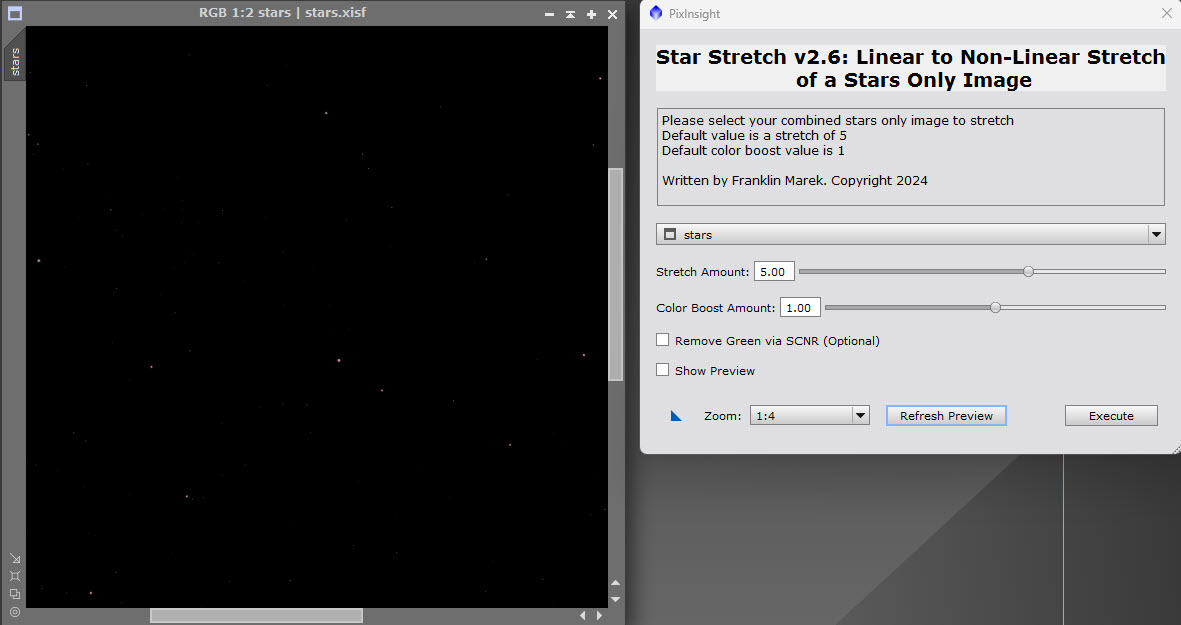
Click or touch the image for a larger view.
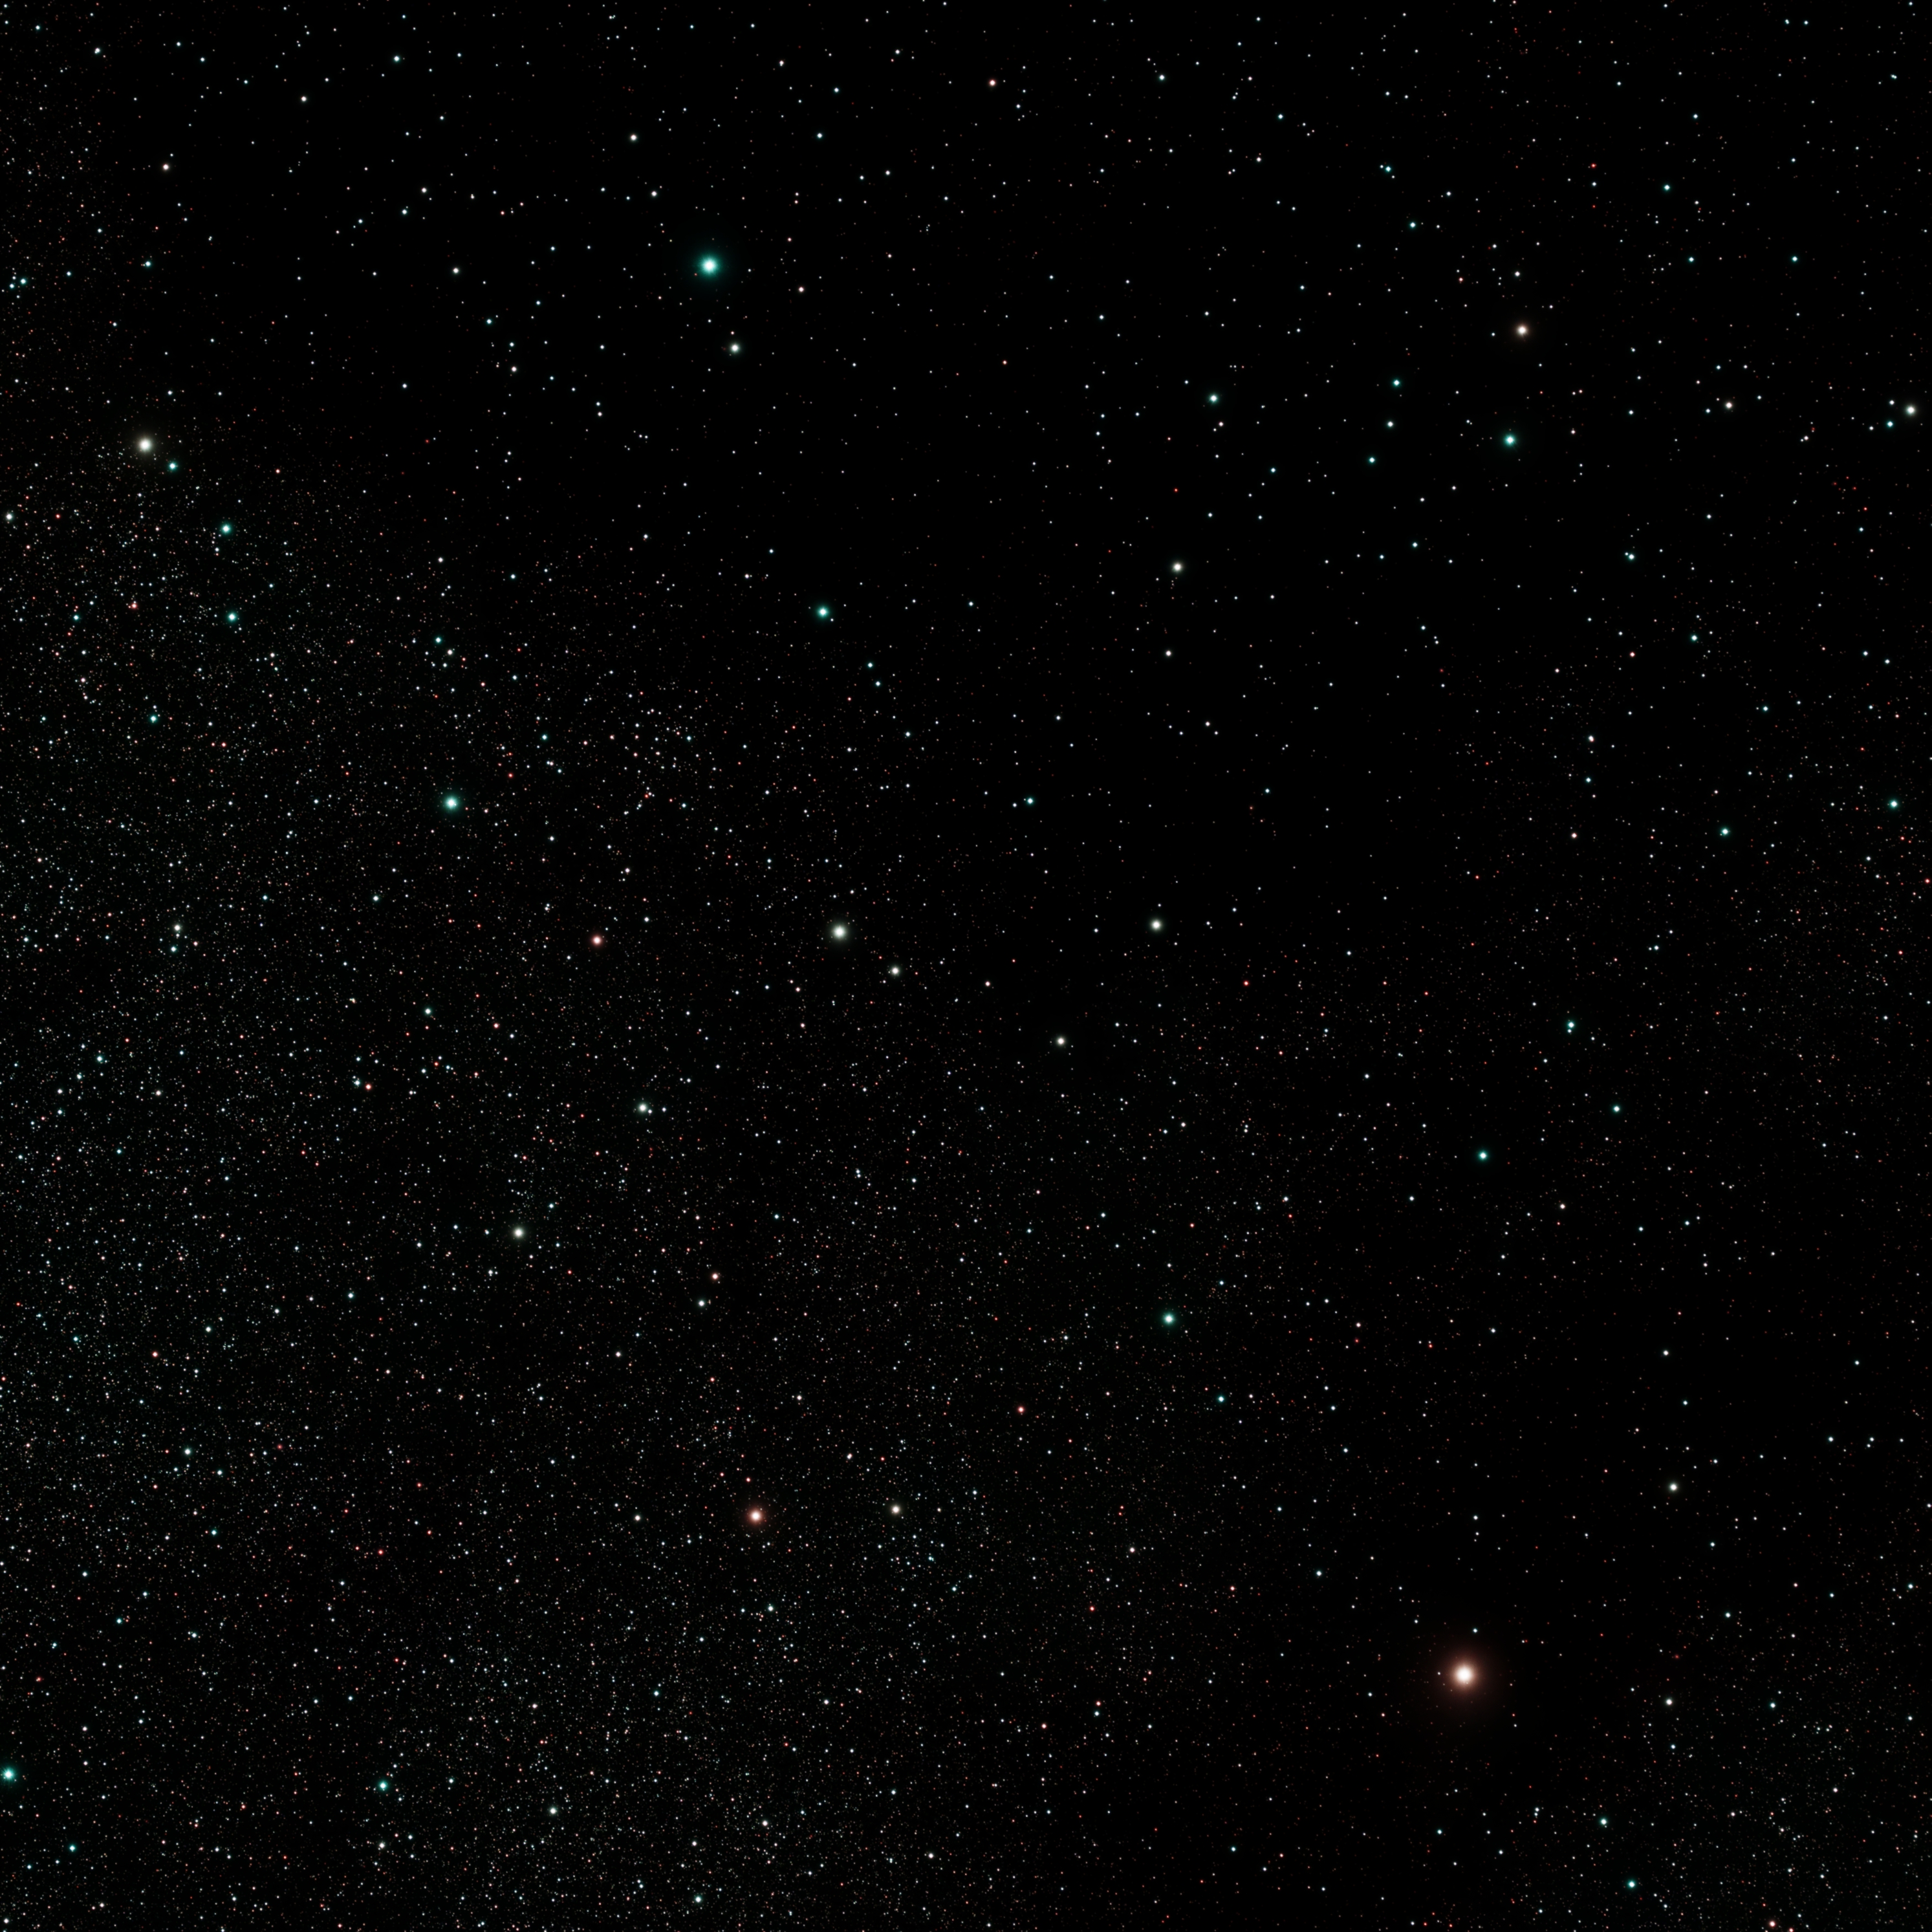
NoiseXTerminator was my final processing step with the no-star image.
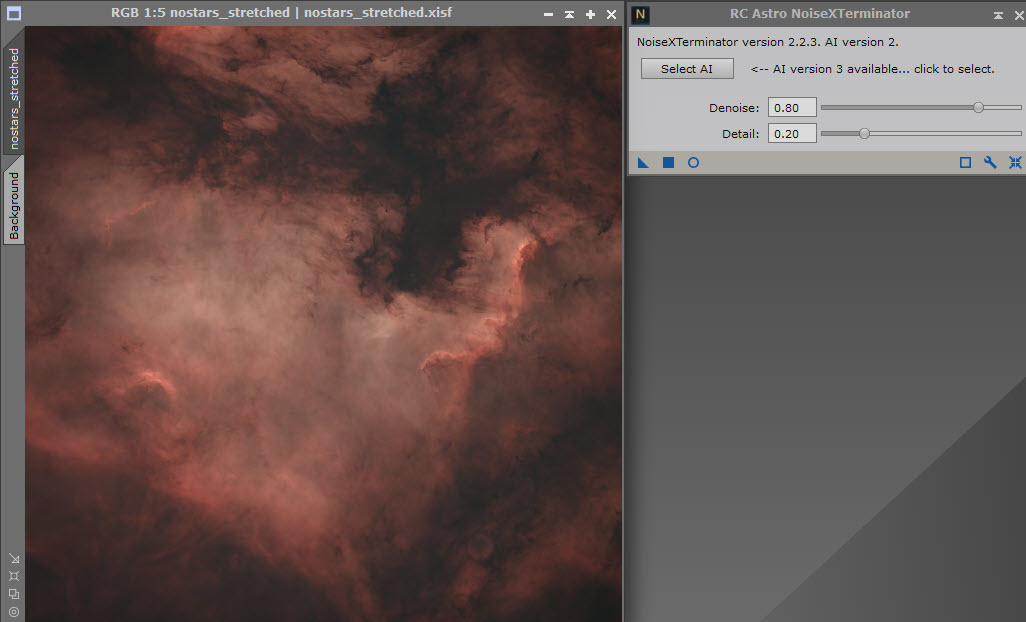
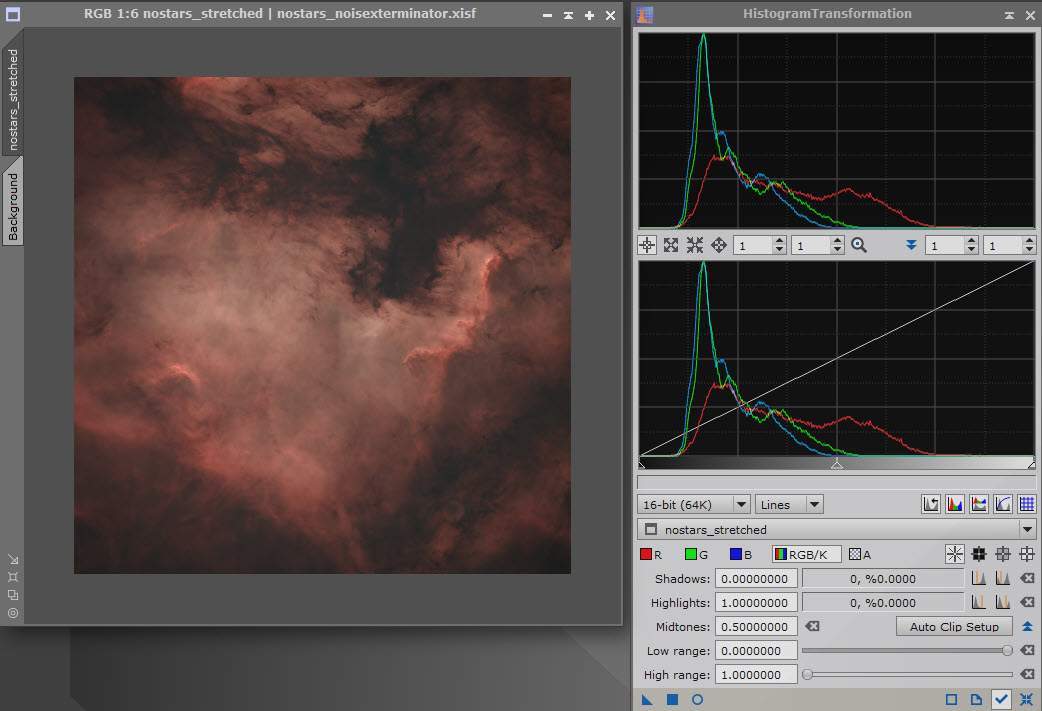
Just out of curiosity, I brought up histogramTransformation to see just what the data looked like for the no-stars image. The histogram shows that the image is brightened, somewhat.
It's time to see what the results of all of this processing is. I decided to recombine the stars and no-stars images without making other changes. I used PixelMath to do this.
The final combined image was a bit noisy, so I hit it with a last application of NoseXTerminator. This completed the processing and the nebula was revealed in detailed glory.
Click or touch the image for a larger view.
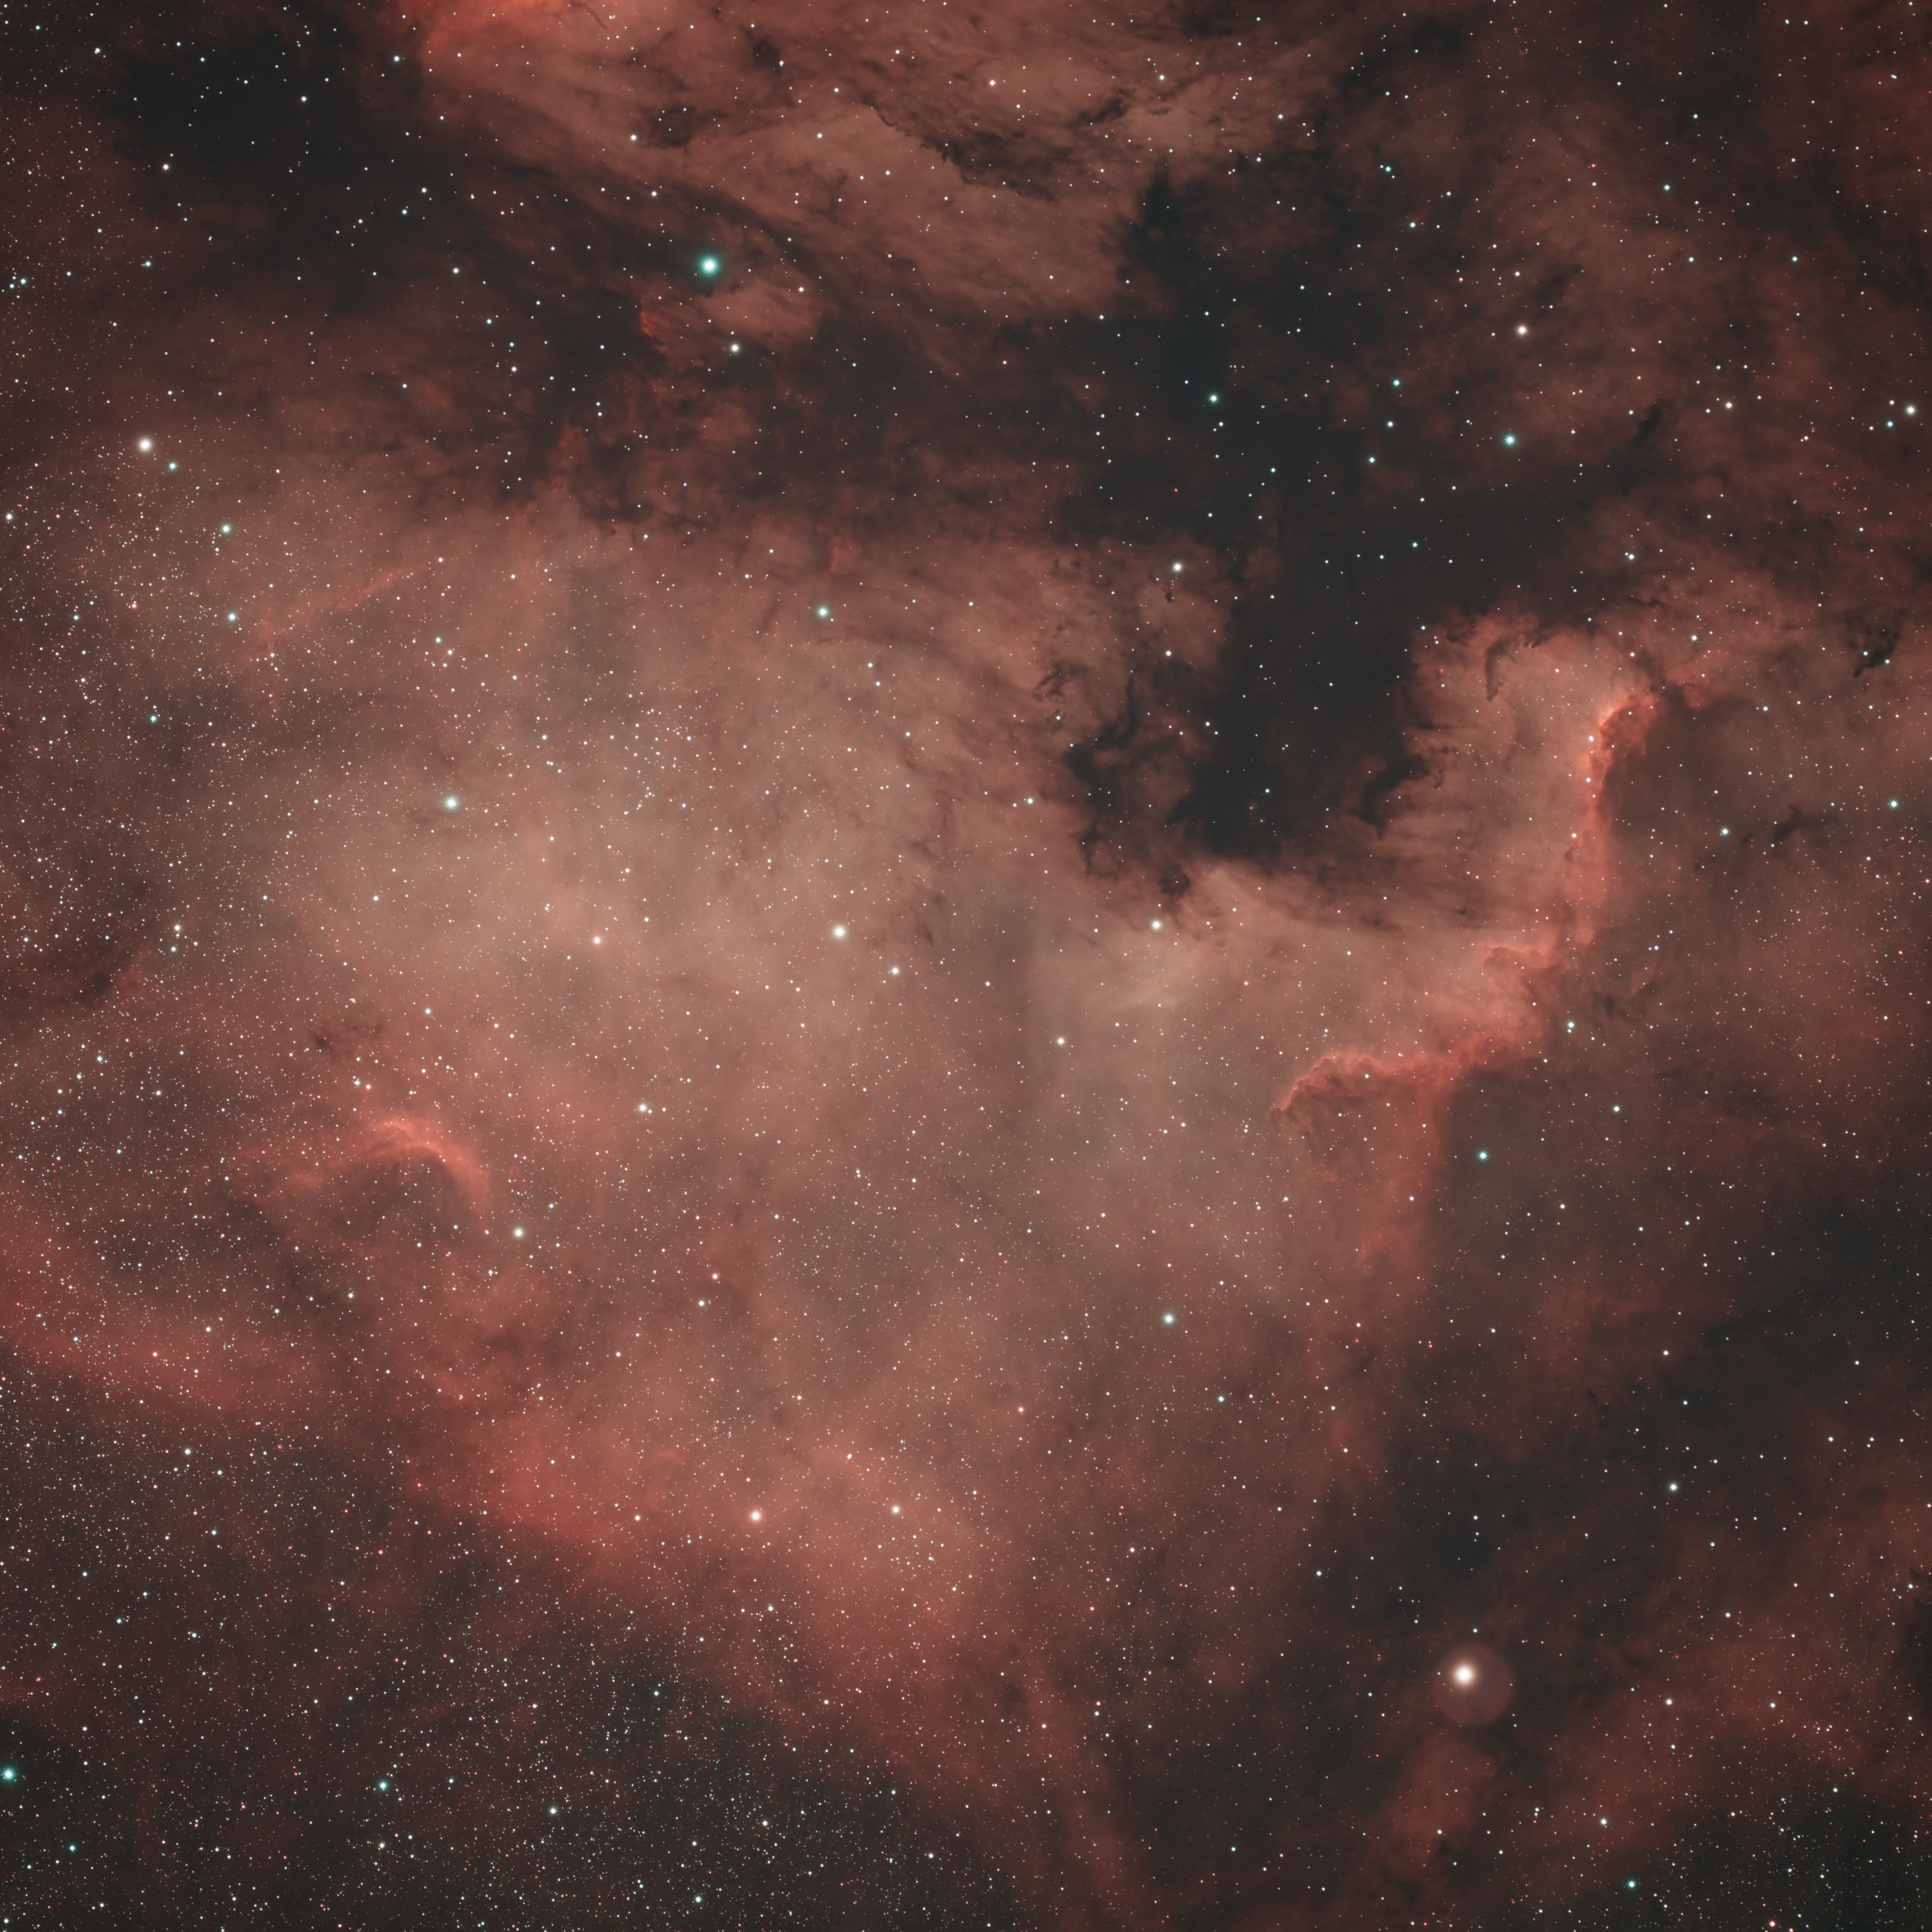
Below is the previous version. Which do you like better?
Click or touch the image for a larger view.
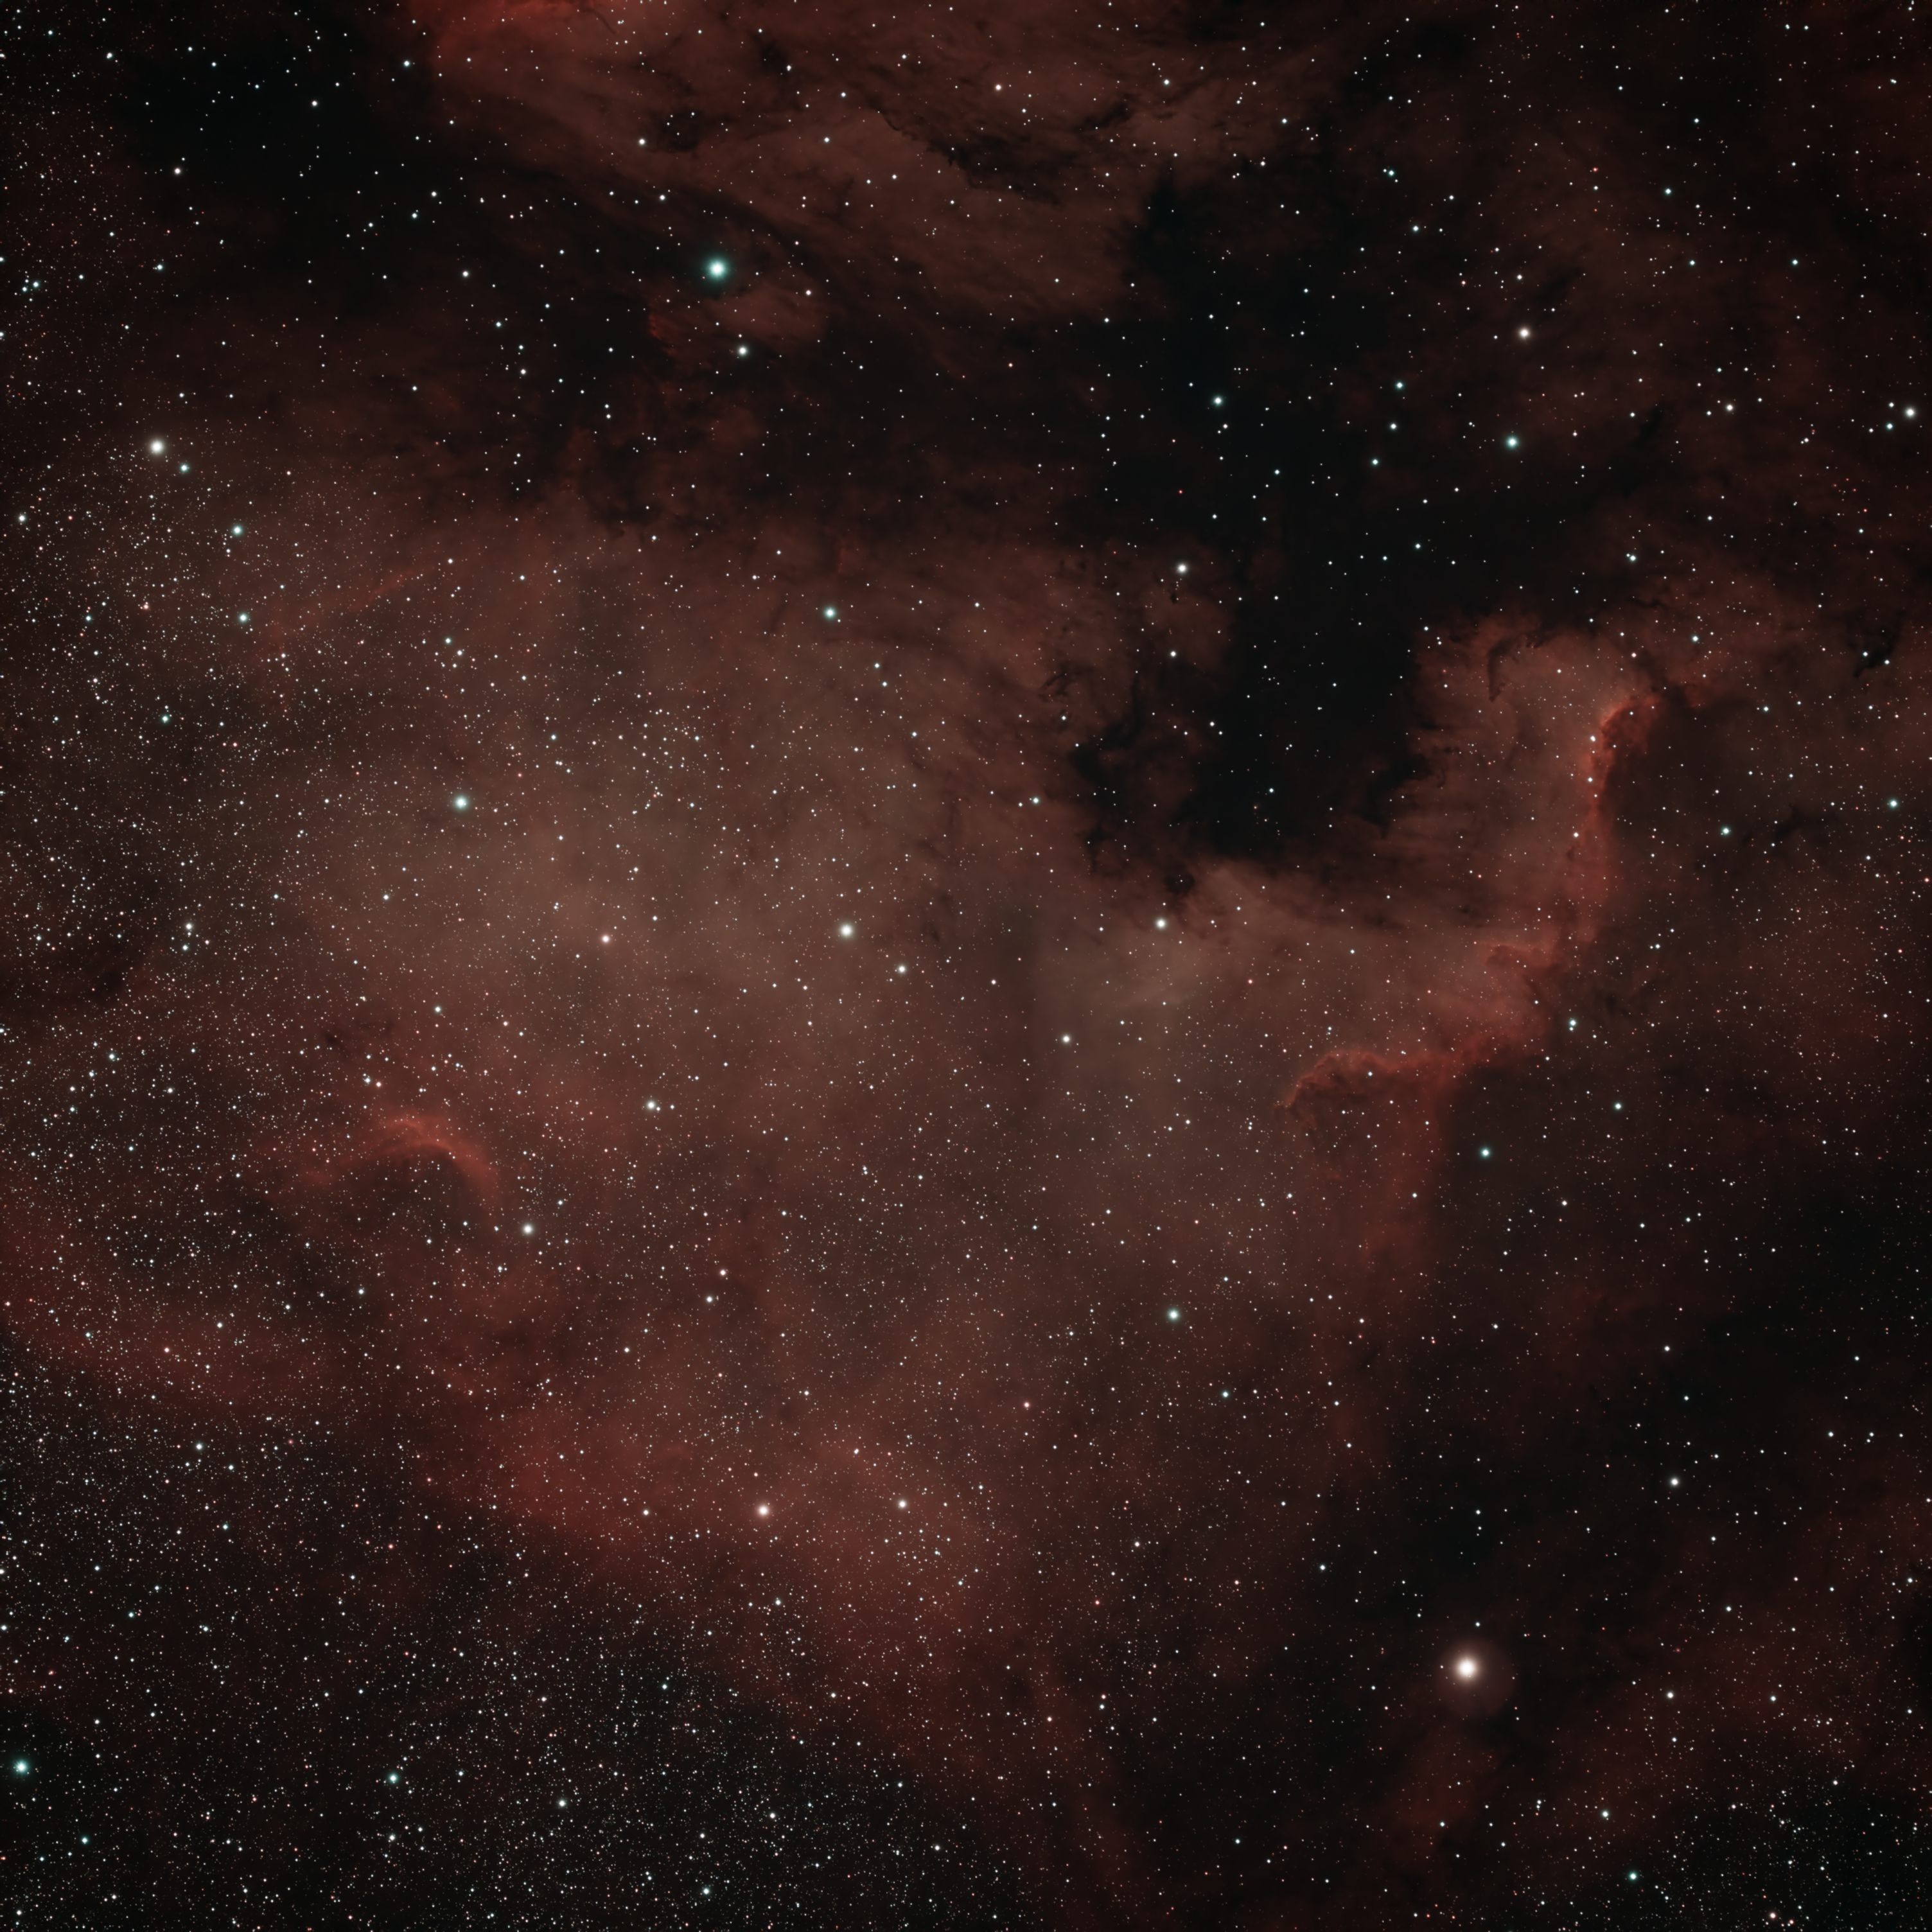
- I like the lighter version and it’s two minutes work to get rid of the odd halo. If you look at wide fields of Cygnus, particularly in Ha, you will see there is very little true background. The whole of Cygnus is lit up so isolating regions with a black background is, to my mind, incorrect. With enough data, there is detail within the dark dust lanes, subtle but definitely there.
- I think the darker version is much better. I think the lighter version "misses the point" of the 3D information in this region: the dense distant background field of tiny stars towards the centre of the galaxy; the thin gauzy veil of H-a nebulosity, locally brightened by clusters of young hot stars, but transparent enough to see through to the galactic stars beyond; the dark black opaque dust clouds in front of this nebulosity; and the relatively sparse scatter of closer stars in front of the dark clouds. By over-emphasising the H-a content, much of this structure is lost or weakened (and you also get occasional gross artefacts...).
- I'm a believer that in this hobby there is room for individual style and in two years time you will be coming back to process older data thinking "what was I doing?". Give a dozen people identical data and they will come back with very different results.
Other Nebulae
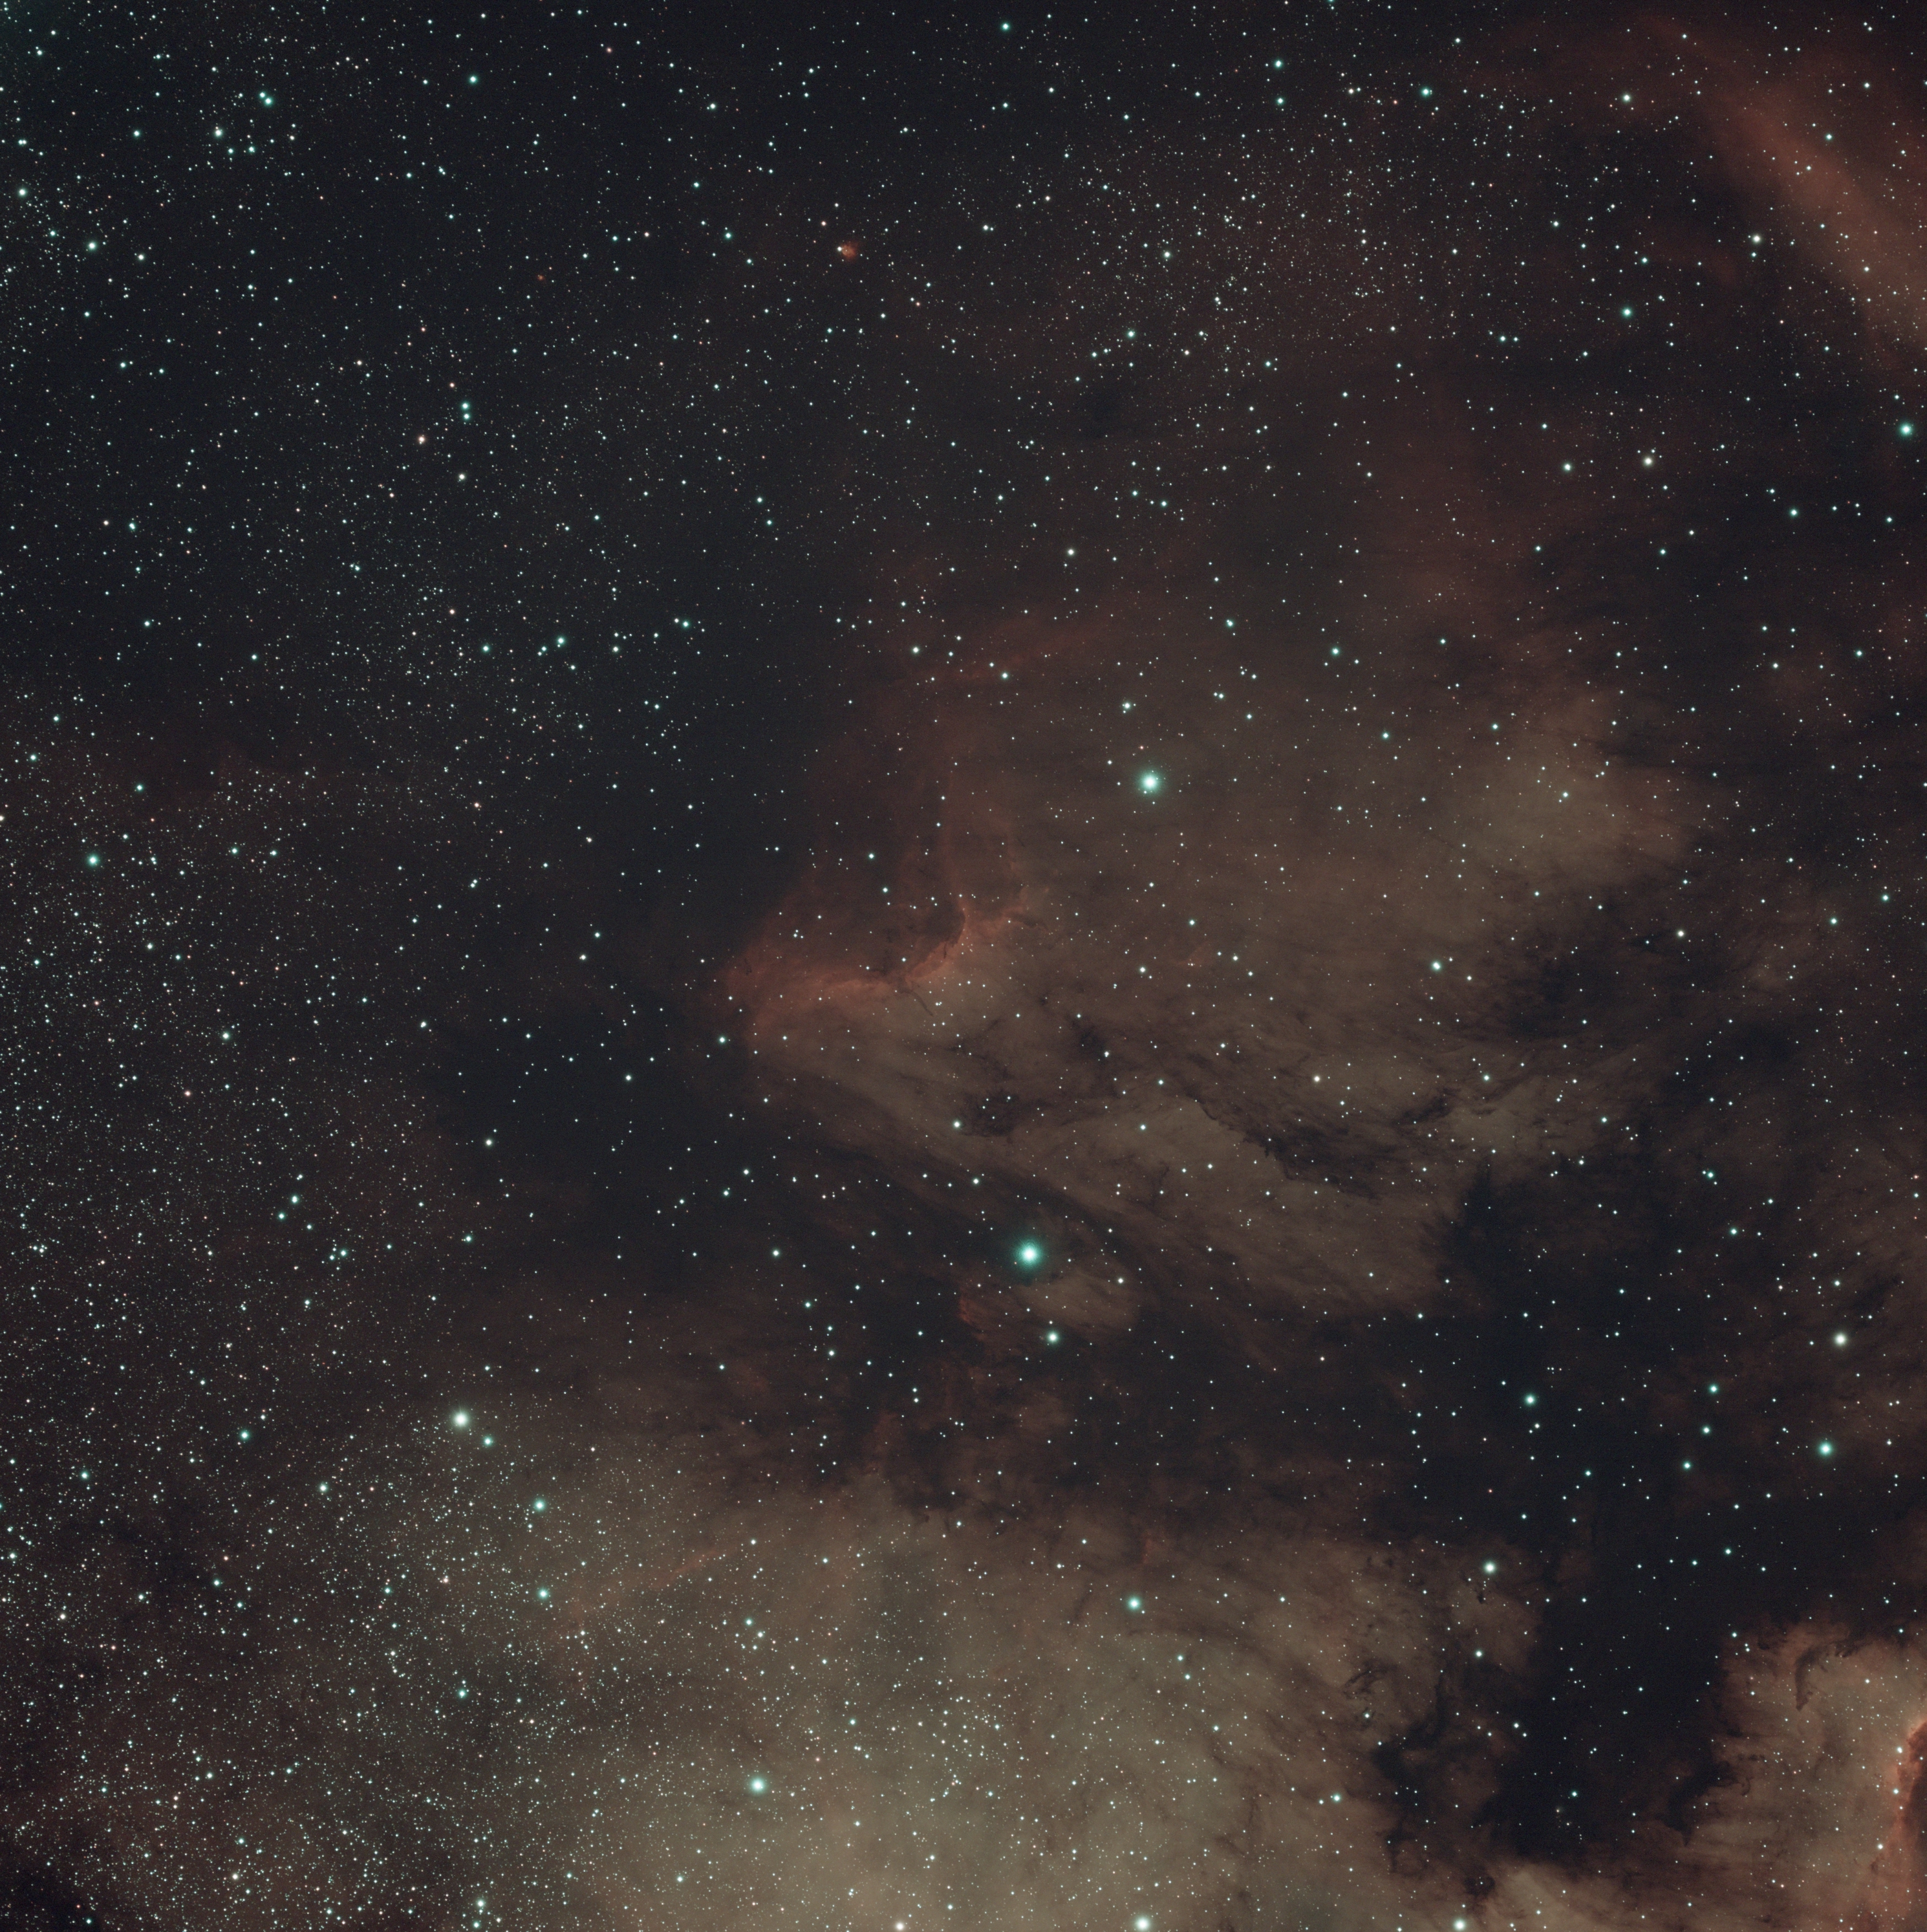
The Pelican Nebula (IC5070)
The image consists of 37 5-minute light frames plus calibration images (bias, darks, and flats). The processing was essentially the same as for its neighbor, NGC7000. Click on the image for a larger view.
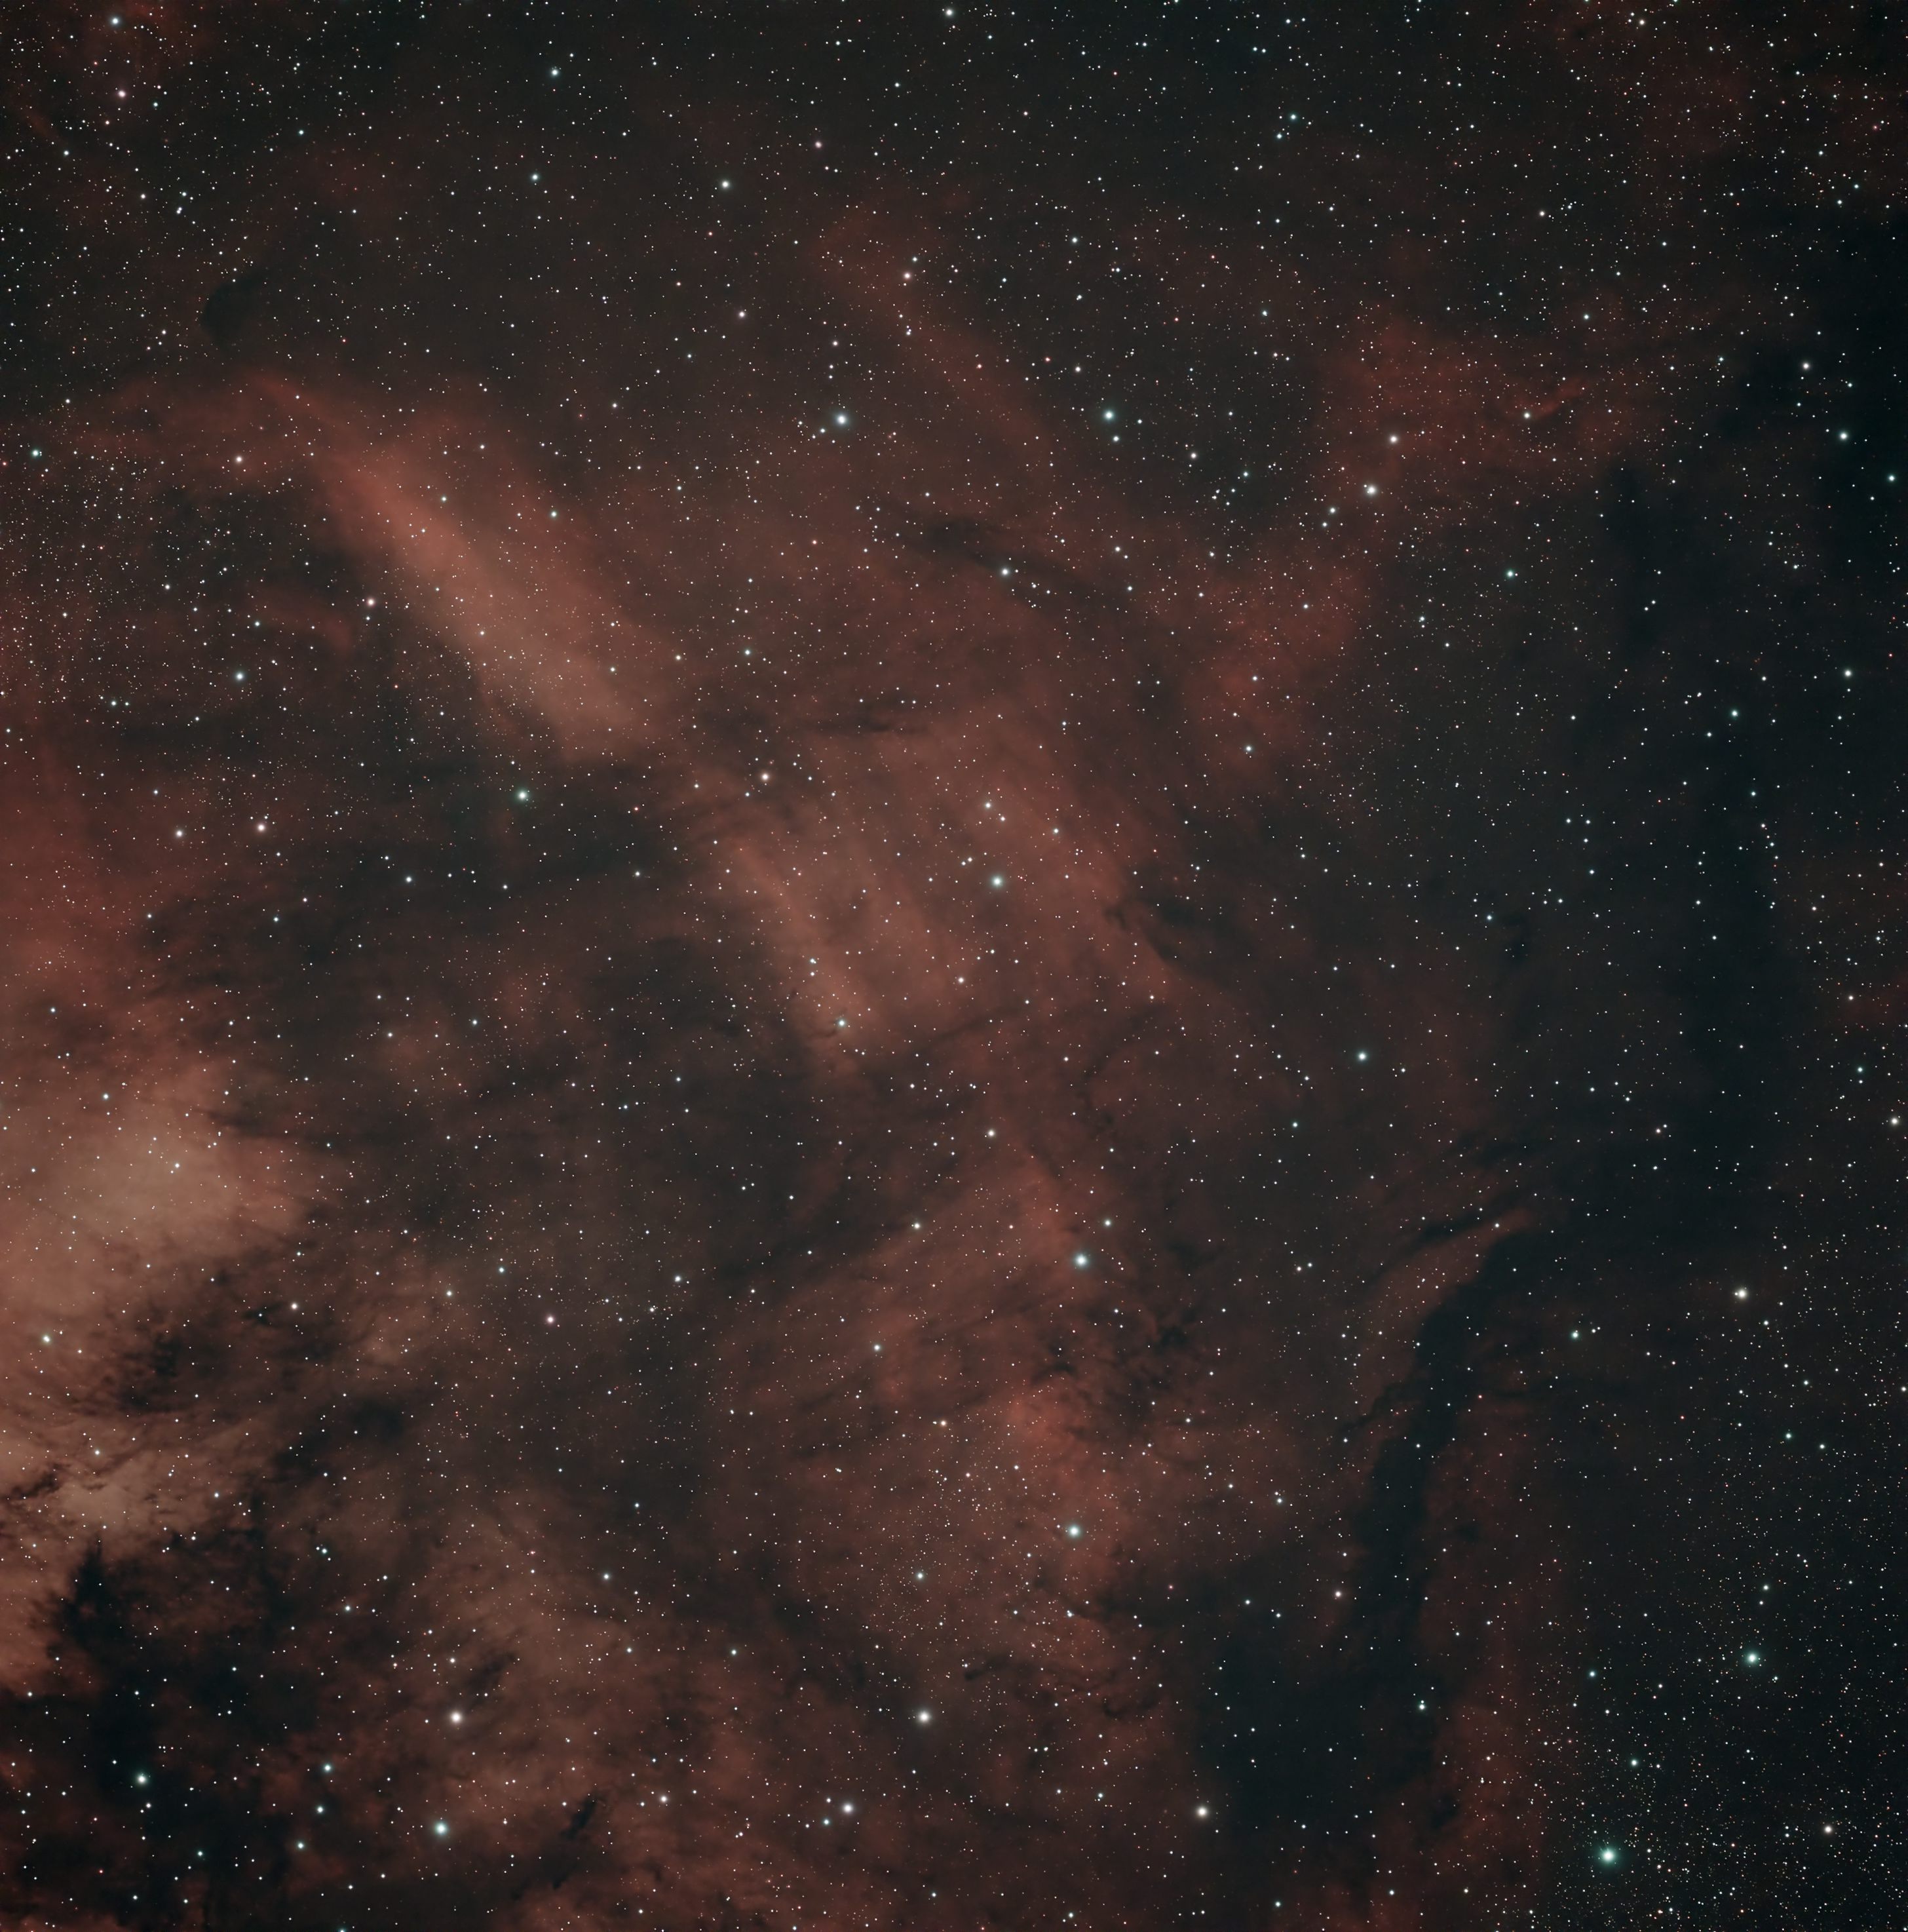
The Forsaken Nebula (IC5068)
The image consists of 36 5-minute light frames plus calibration images (bias, darks, and flats). The processing was essentially the same as for NGC7000. Click on the image for a larger view.
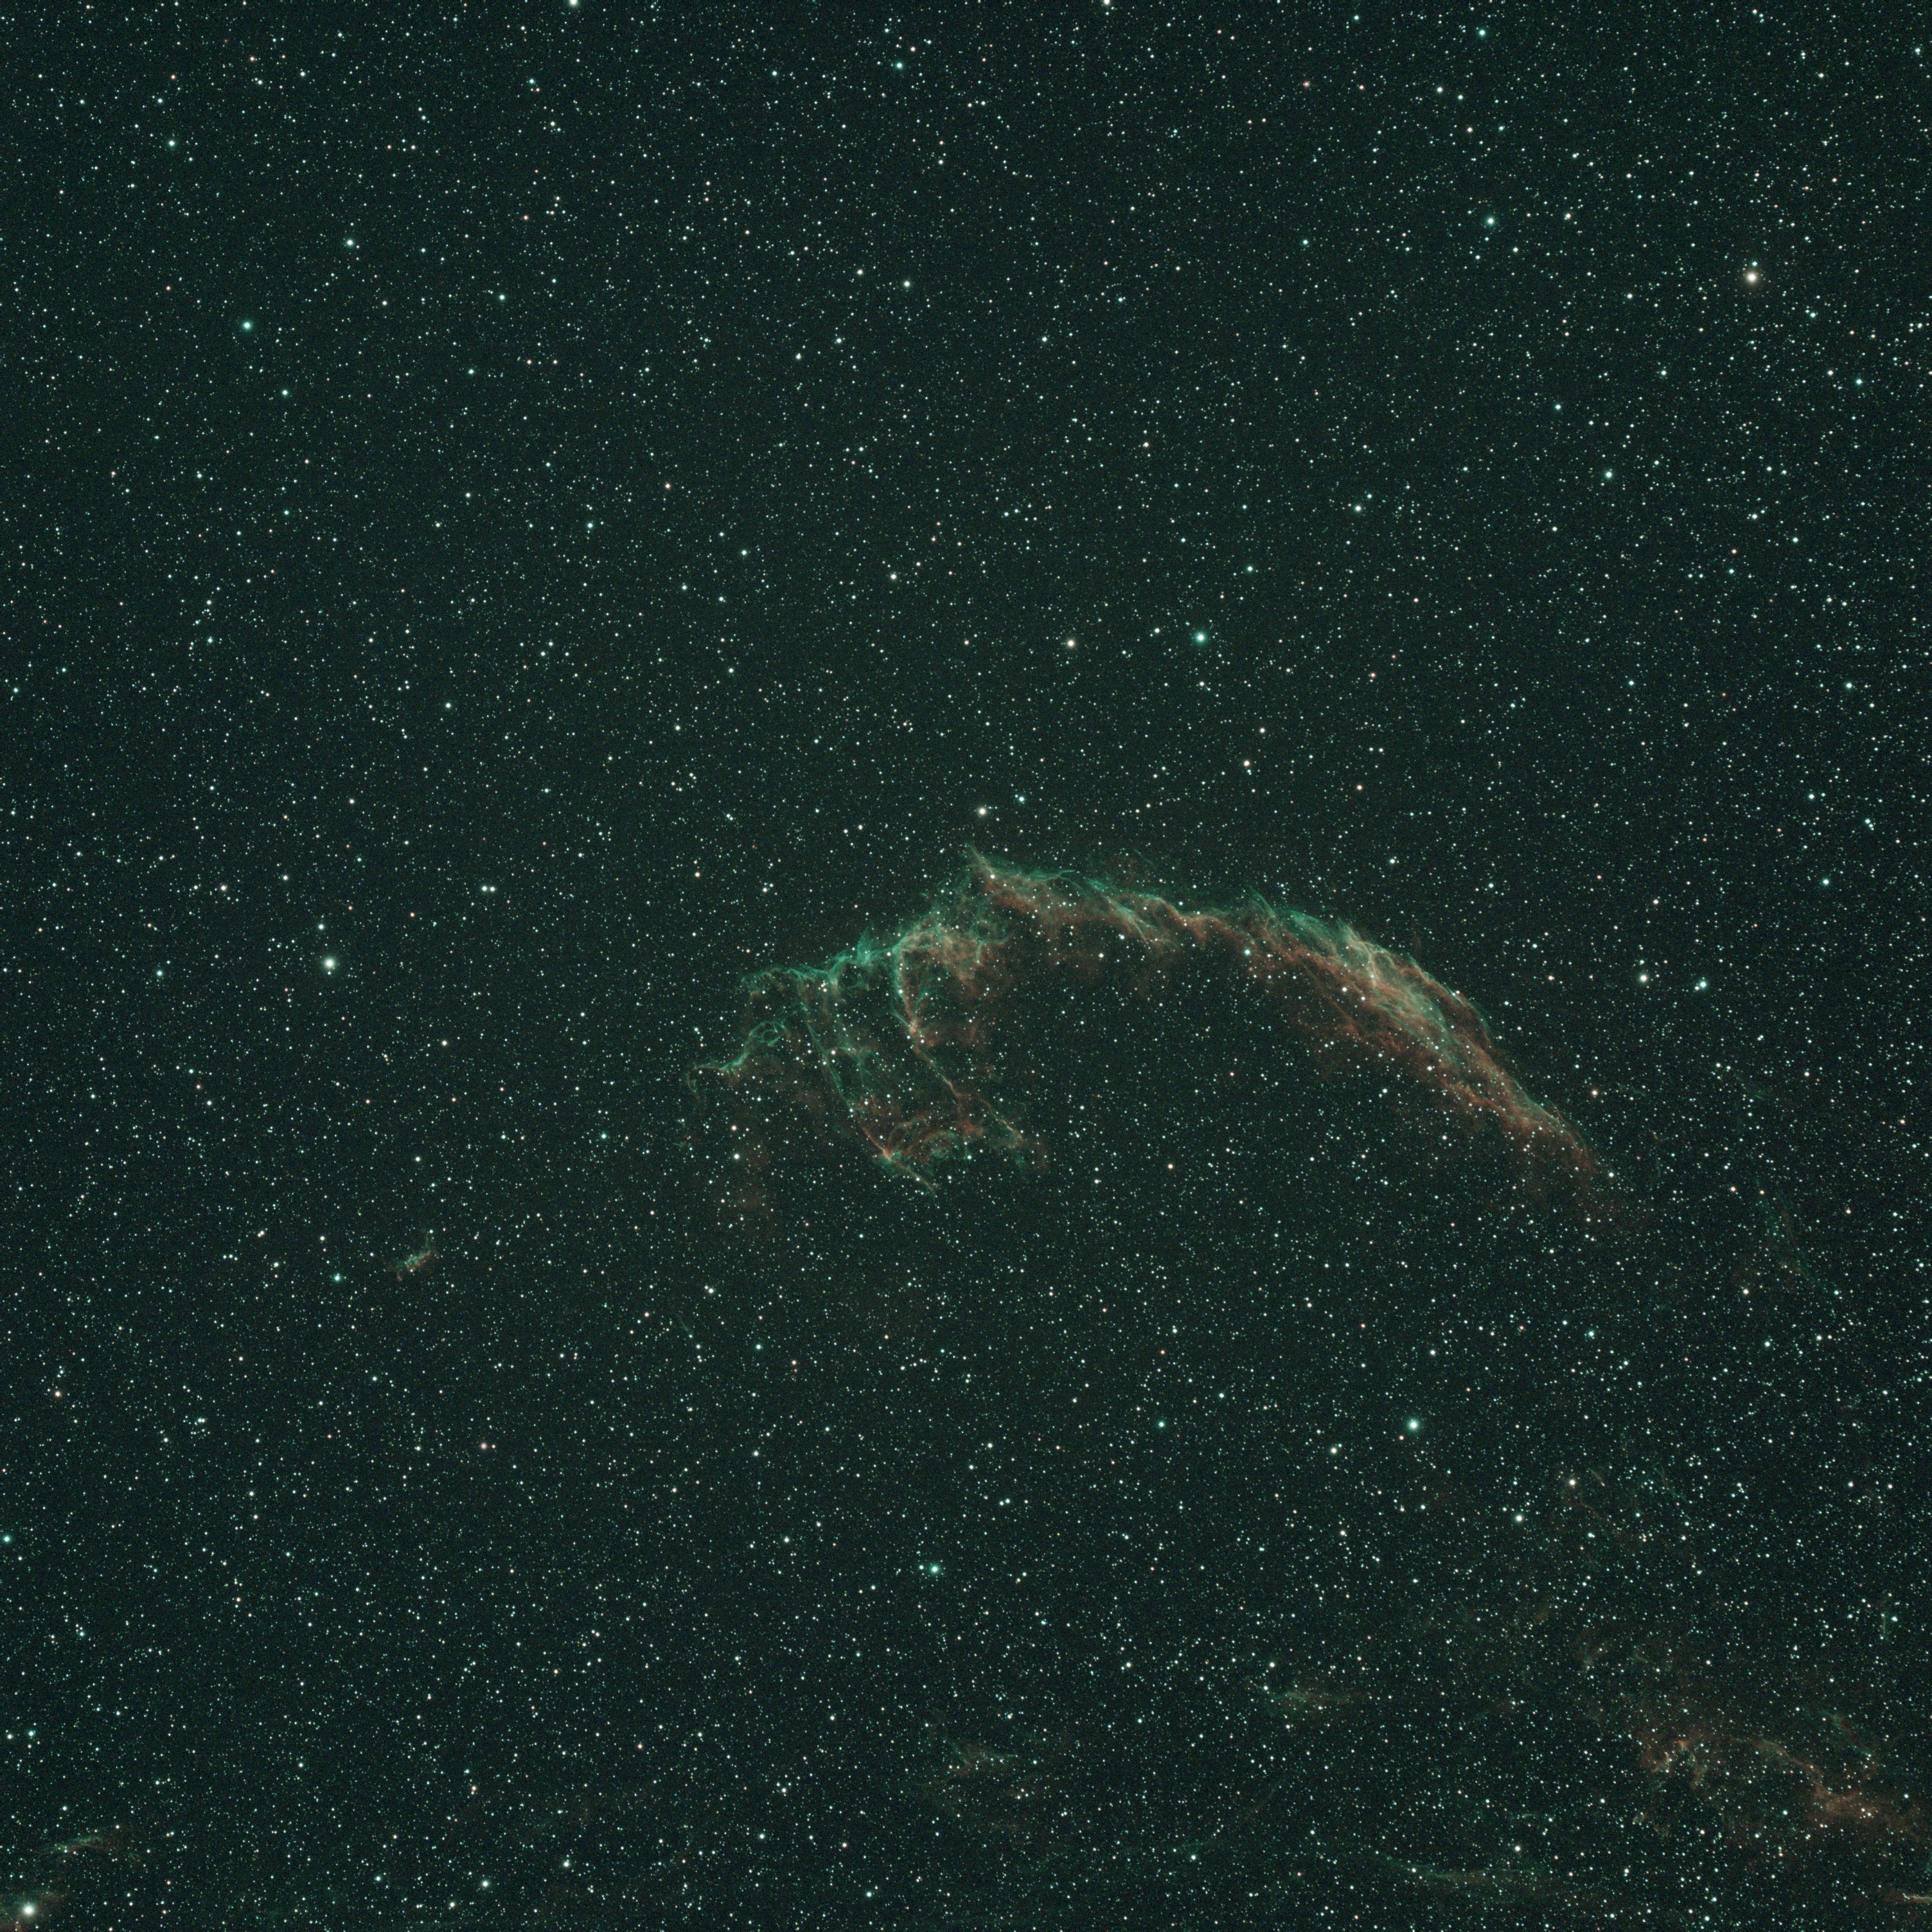
The Veil Nebula (NGC6995)
The image consists of only 12 5-minute light frames plus calibration images (bias, darks, and flats). I could not use "Drizzle" as there were too few images. Click on the image for a larger view.
Resources
- PixInsight Image Processing Software,
- PixInsight For Dummies (Like Me) and Other Video Tutorials by Peter Zelinka ,
- Rogelio Bernal Andreo’s Mastering PixInsight and Reference Guide,
- Bernd Landmann’s Preprocessing of Raw Image Data with PixInsight,
- RC Astro: BlurXTerminator, NoiseXTerminator, StarXTerminator,
- Seti Astro:Scripts for PixInsight including FindBackground, Star Stretch, and Statistical Stretch.,
- In Search of the Stars About my imaging system, both hardware and software.